Last week I was faced with a challenge as I was working on my outfit for the Sew in Tune series. Part of the look was going to be the pajama top from a vintage pattern I bought on Etsy (my first vintage pattern purchase, by the way!). Problem was, it was the wrong size (size 6, my boy is size 4) Not a huge difference, I know, but at the same time, adjustments had to made if it was going to fit him. Plus, this shirt has a somewhat tricky tab opening on the front. At first, I was just going to cut the pattern pieces a little smaller, but there's more to it to correctly grade a pattern than that (how much smaller, which sides to shorten, etc). So, while there's probably several ways to do this, I'd like to show you what I did. Who knows, you may be faced with the problem of re-sizing a pattern, and may find this useful!
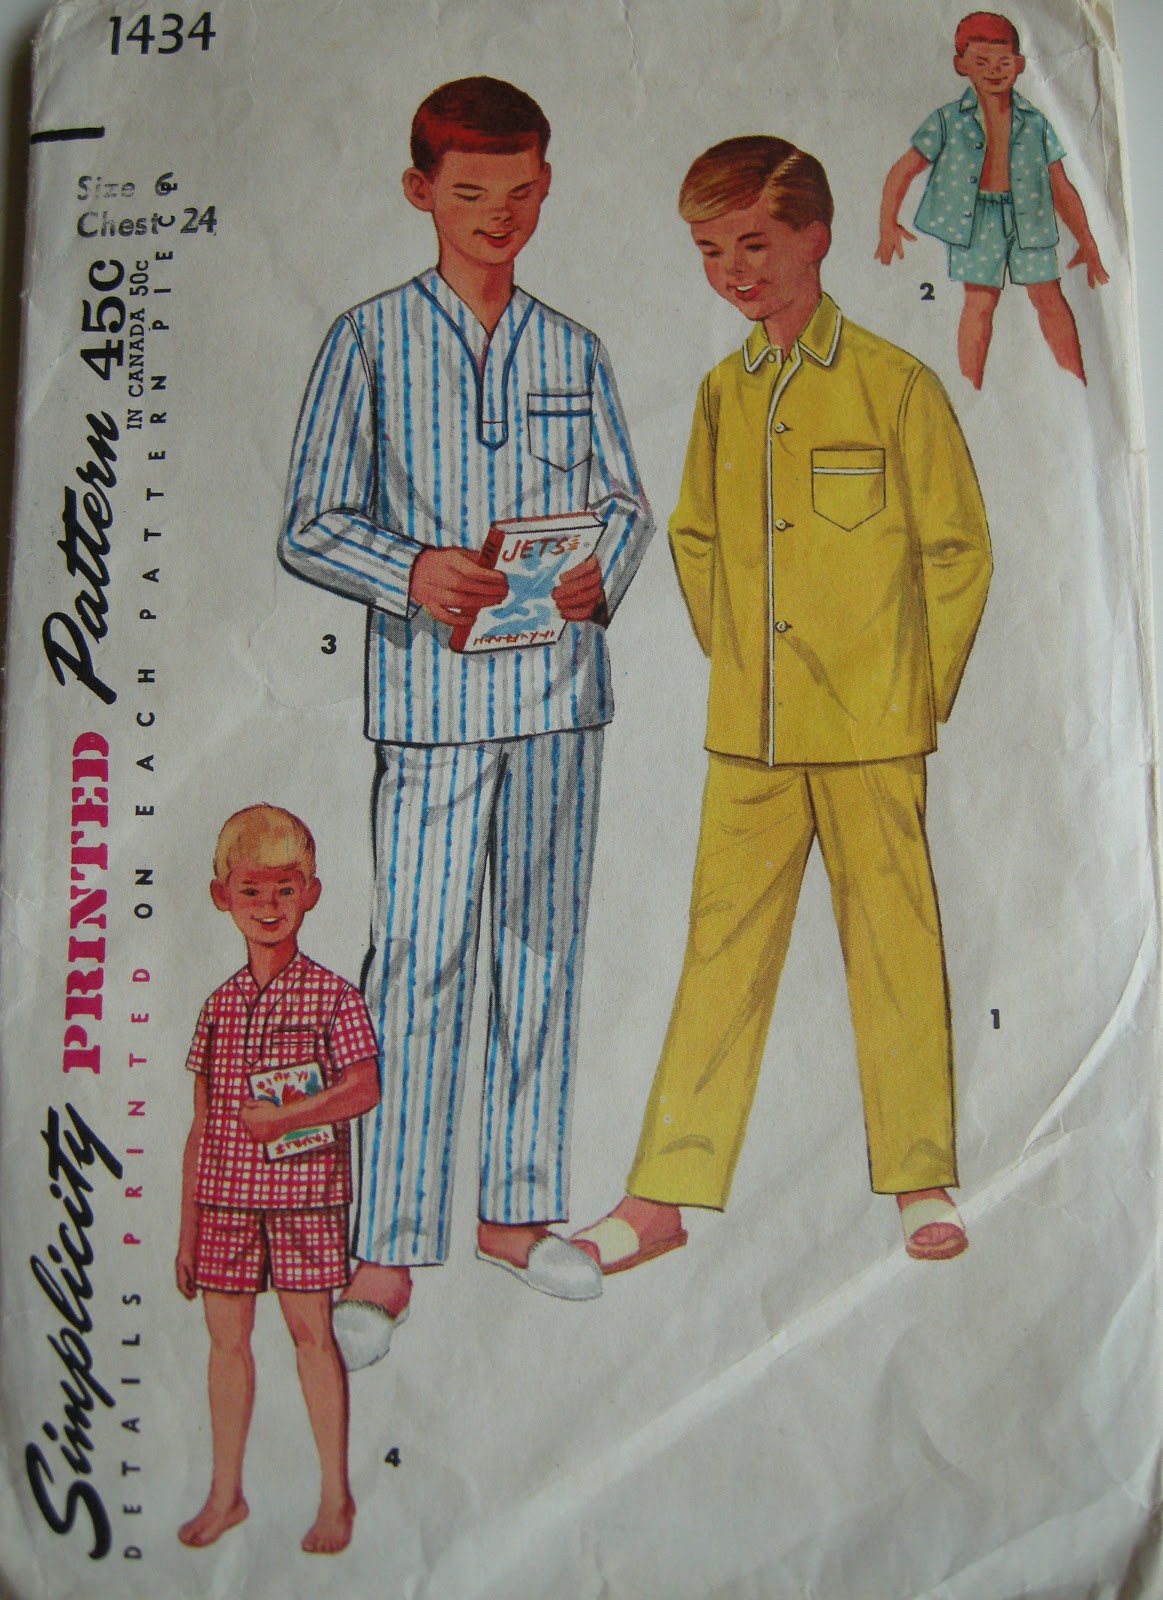
Here's the pattern...(I made #4).
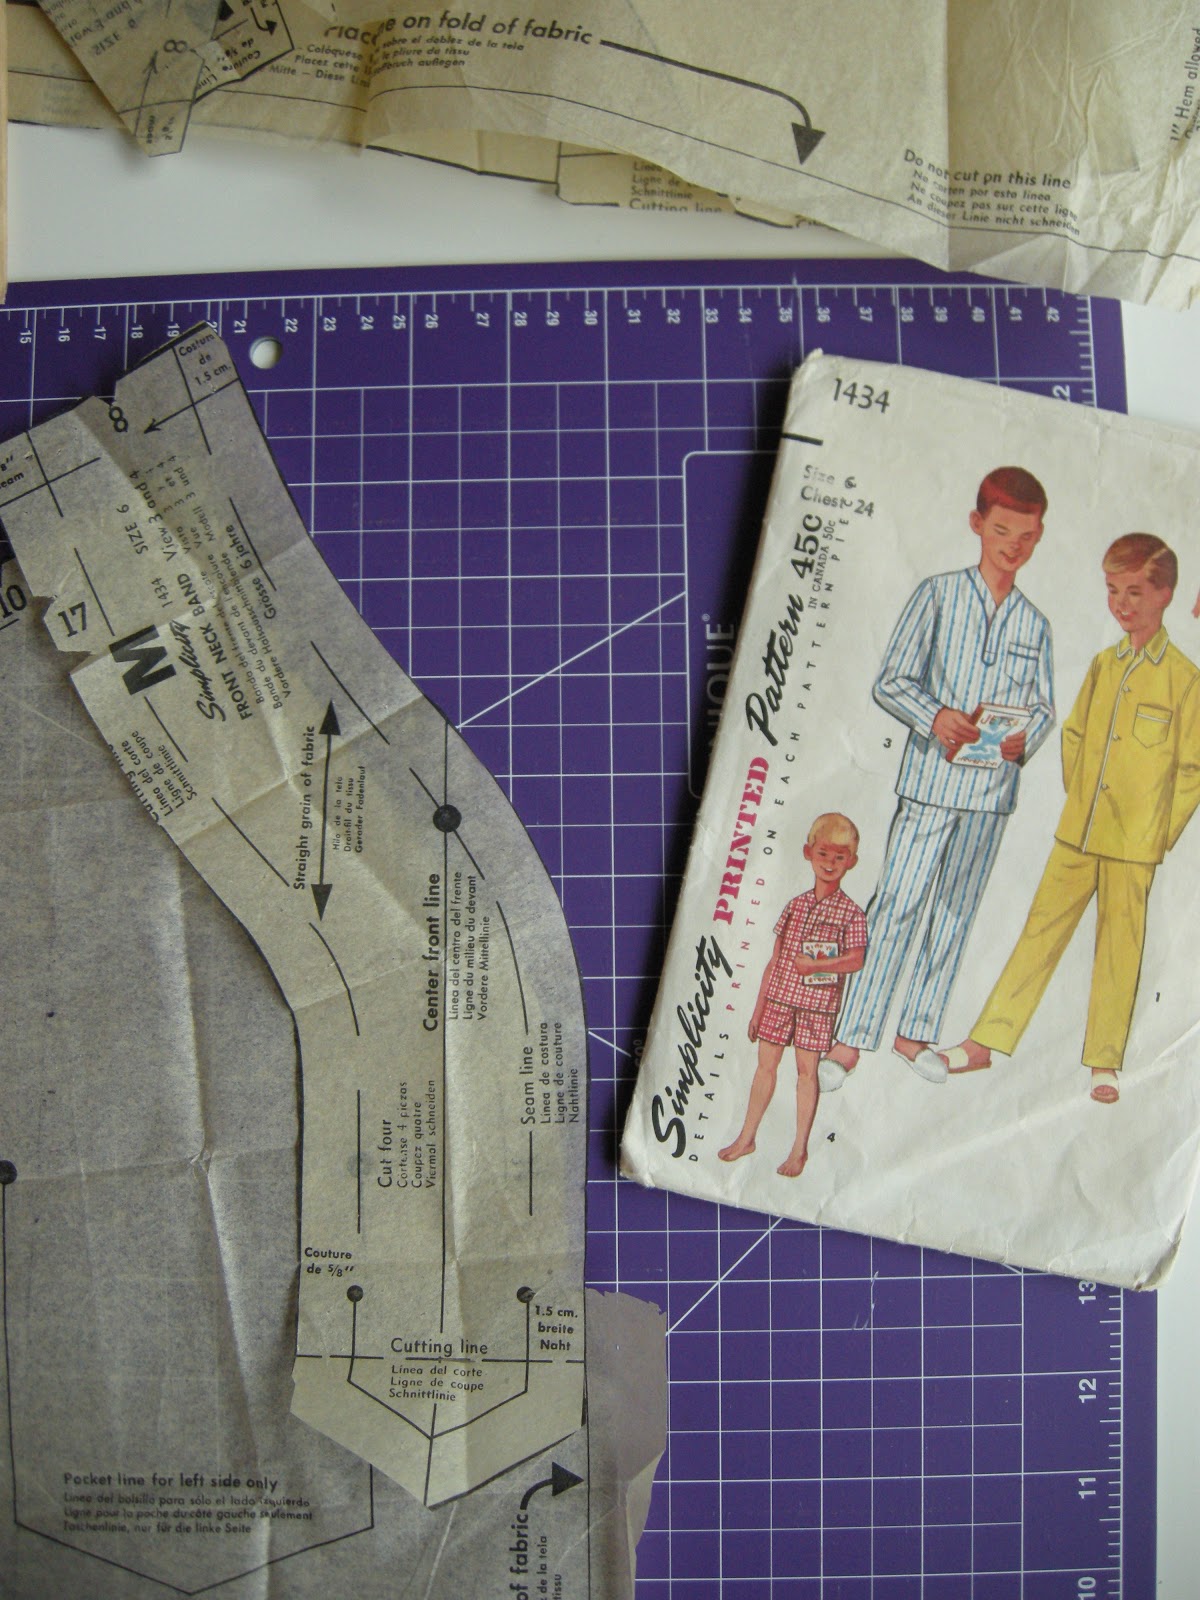
Basically, what I did, was aligned the pattern pieces as they would fit together on the garment, and measured how far the edges were from each other.
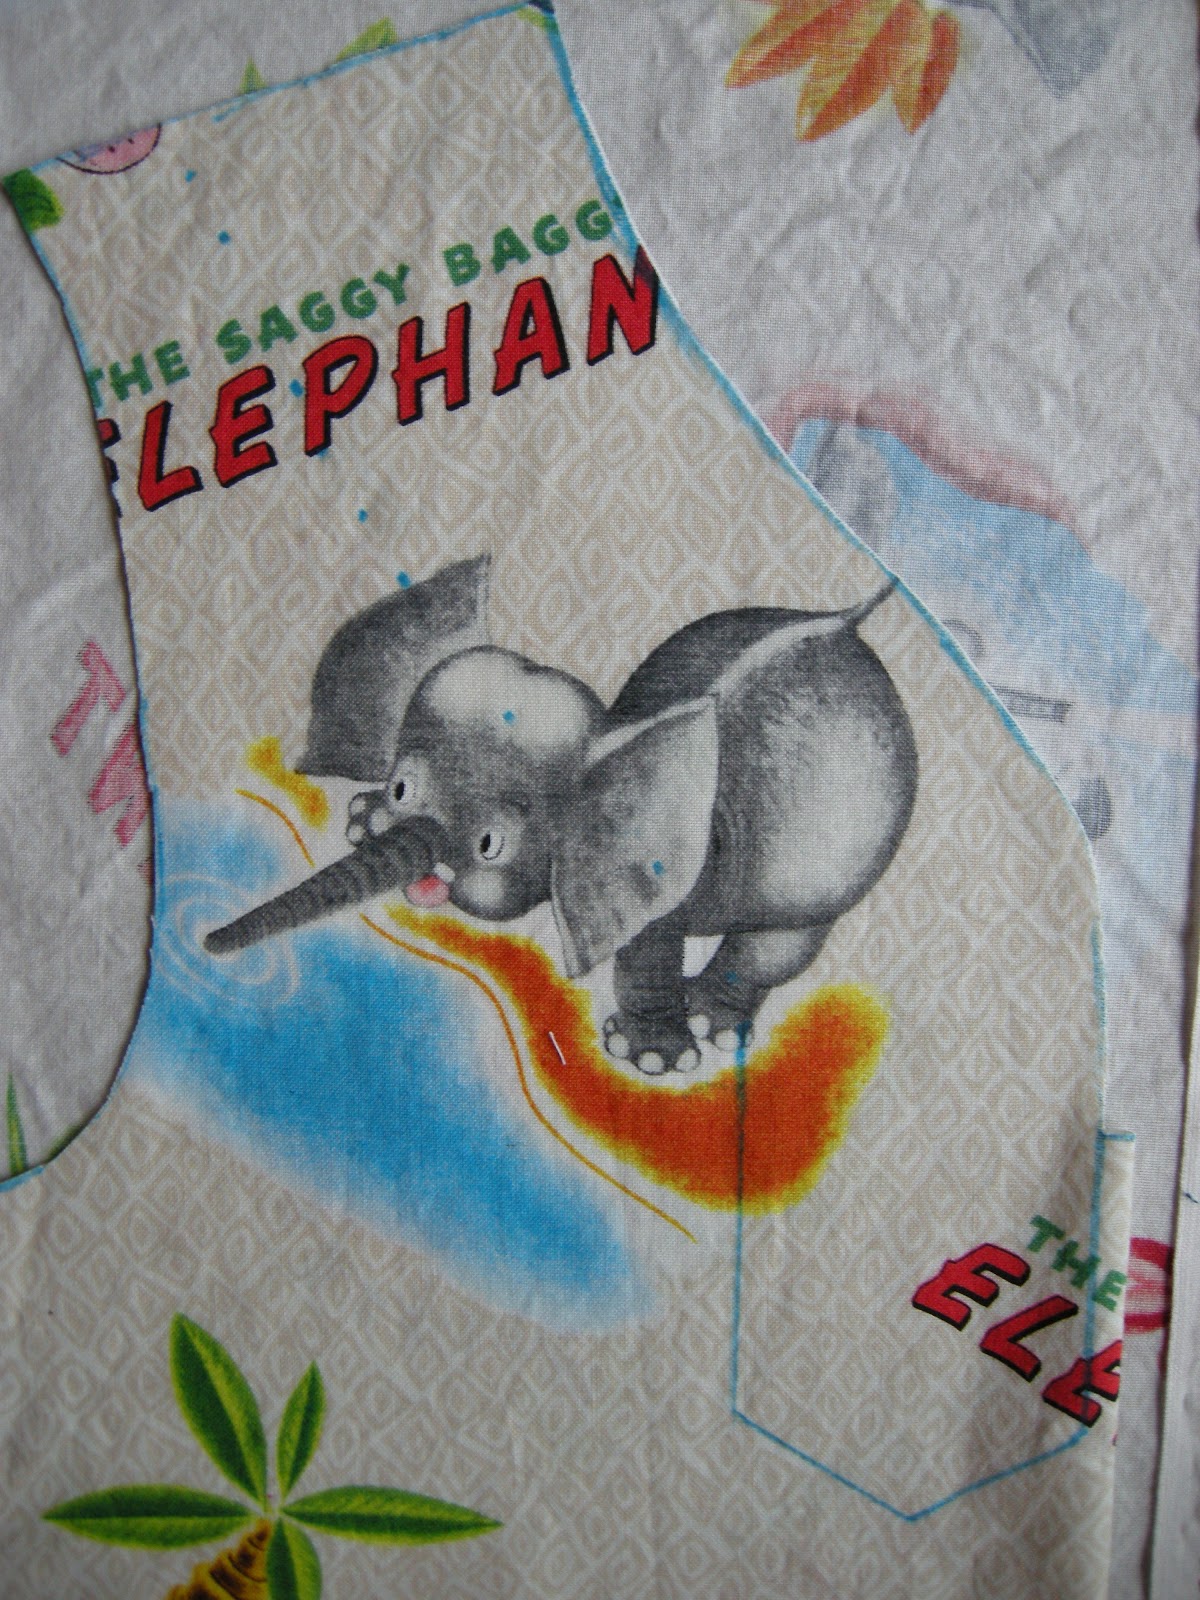
Then, I took a shirt that fits my boy to trace the body and shoulders. I was a little generous with the sizing because I wanted it to be comfortable for sleeping in.
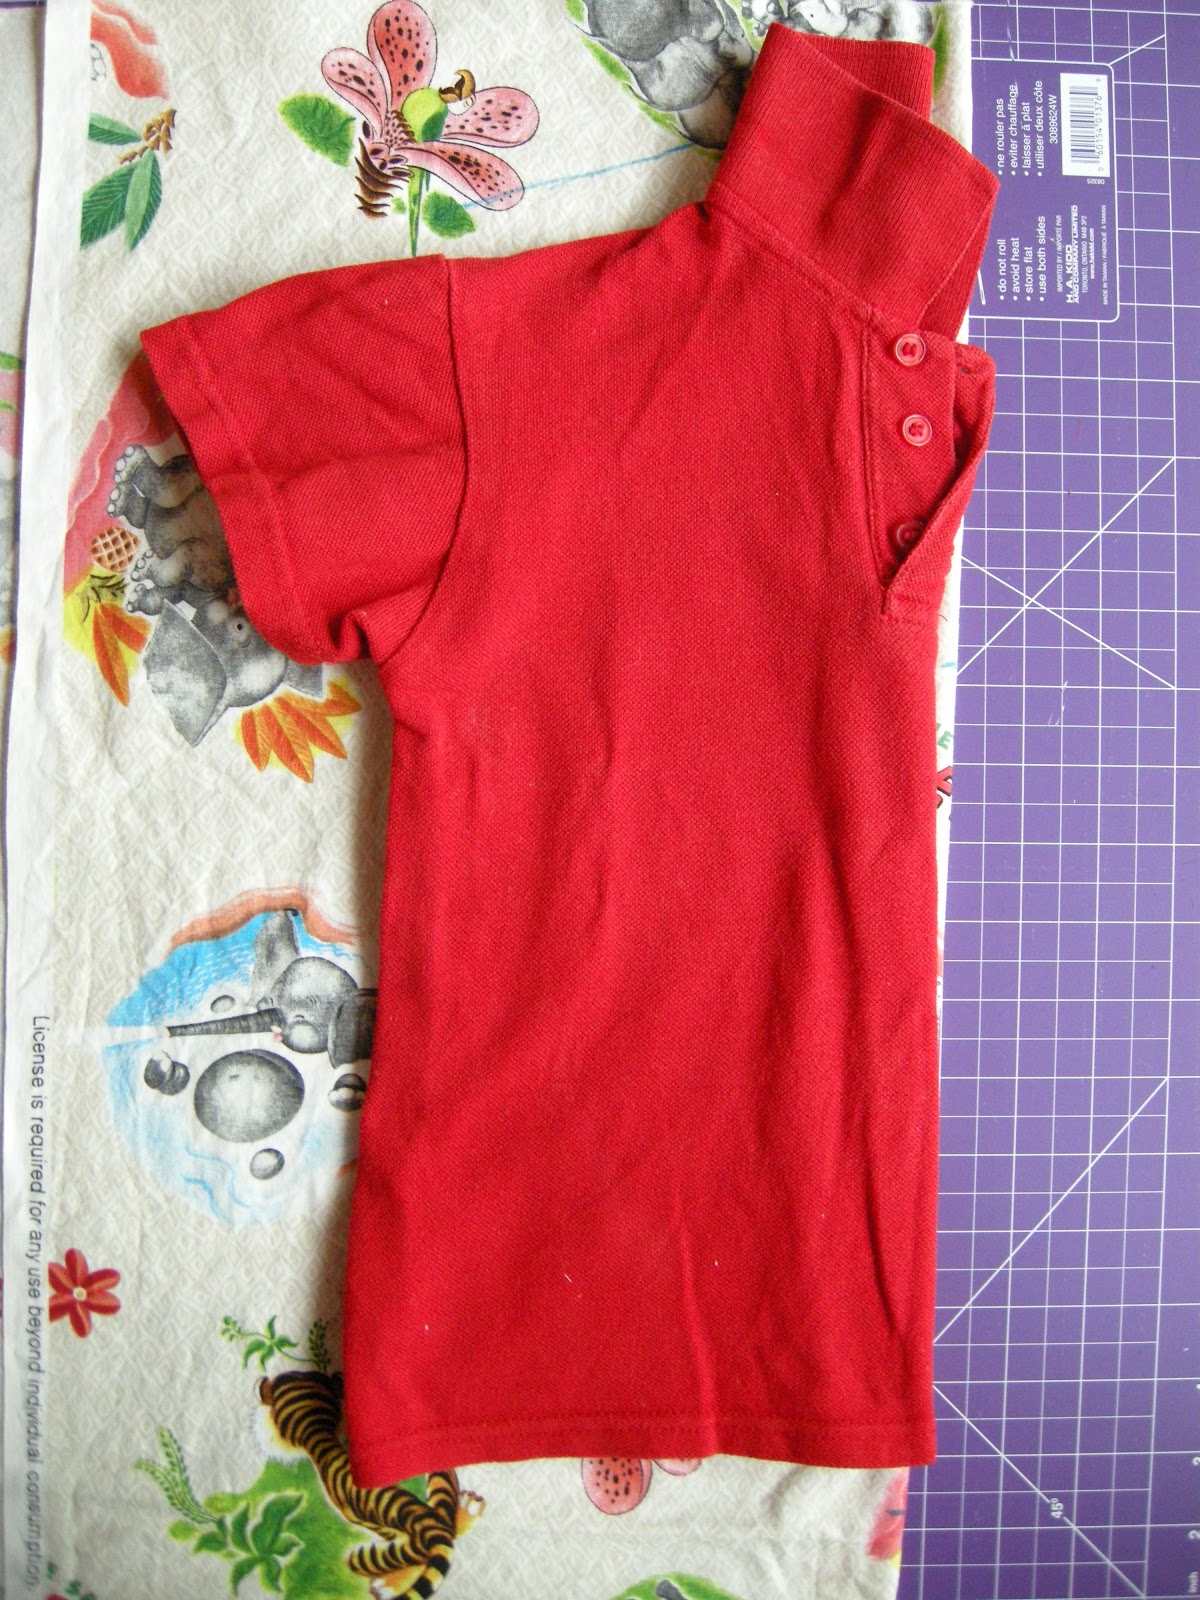
Added some for the hem...

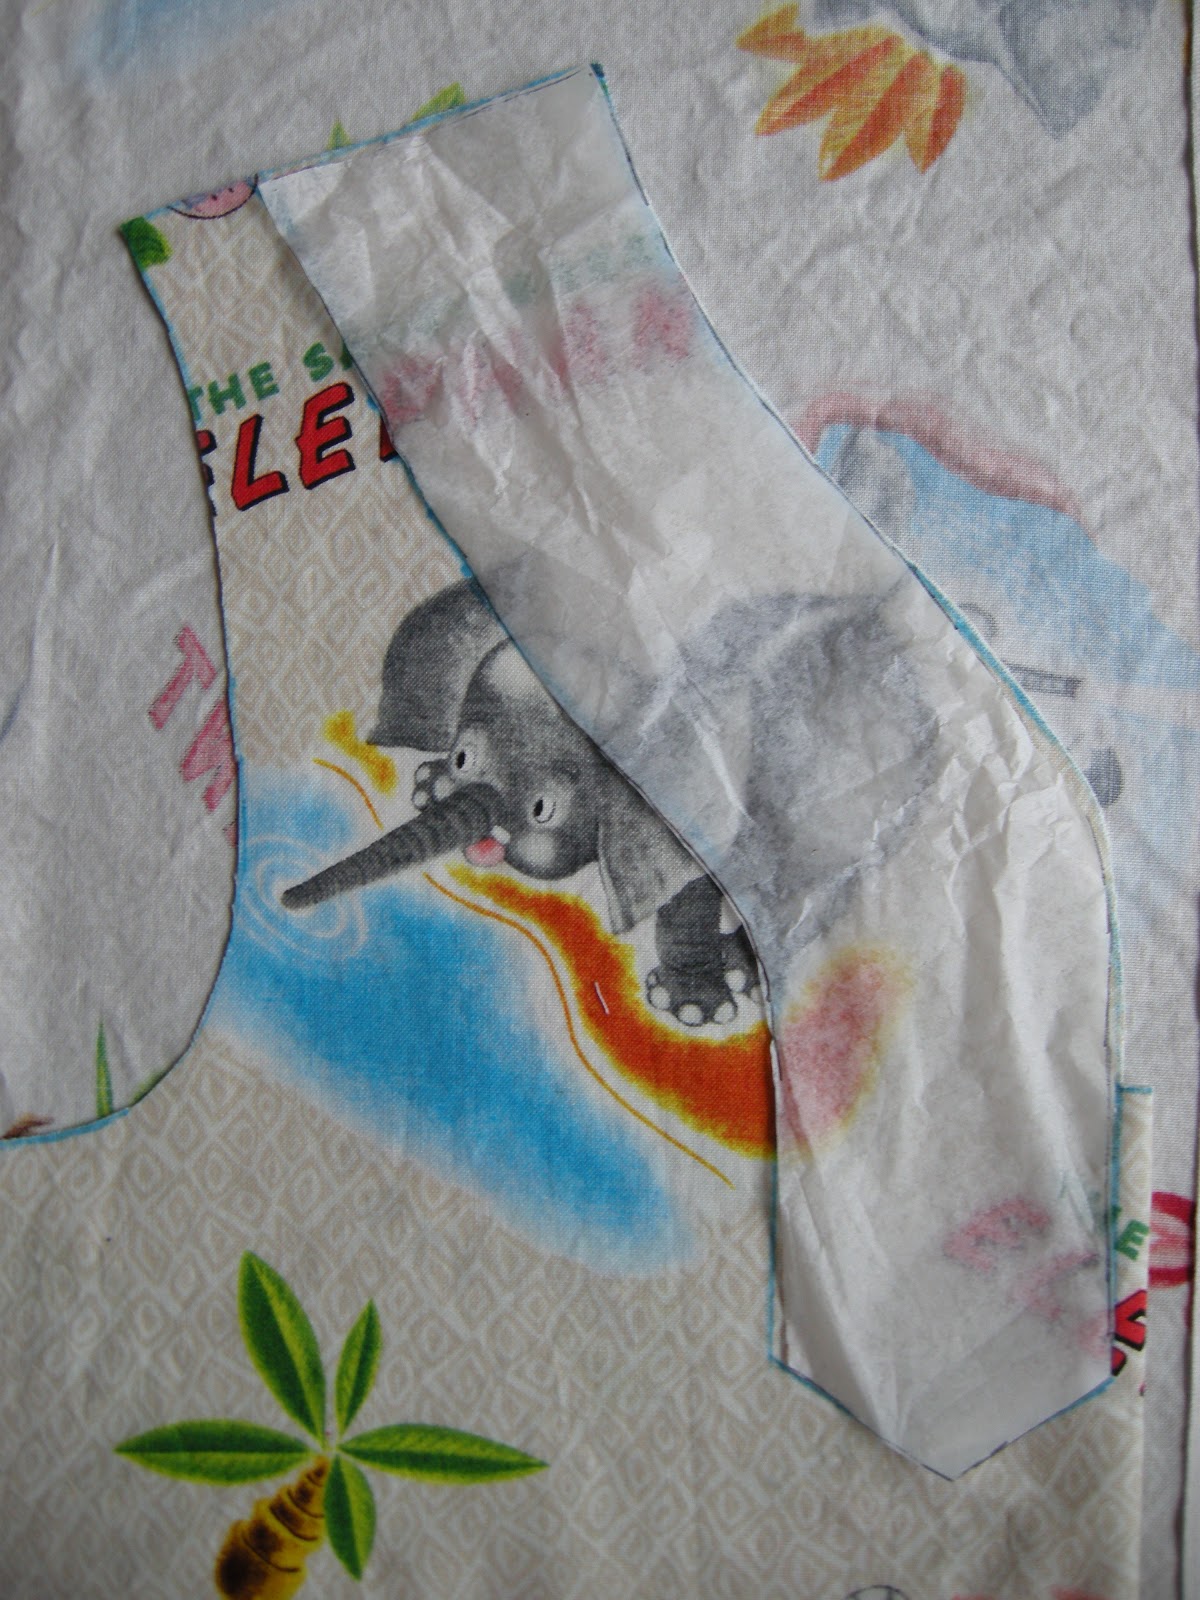
I traced the shape of the neckline from the original pattern.
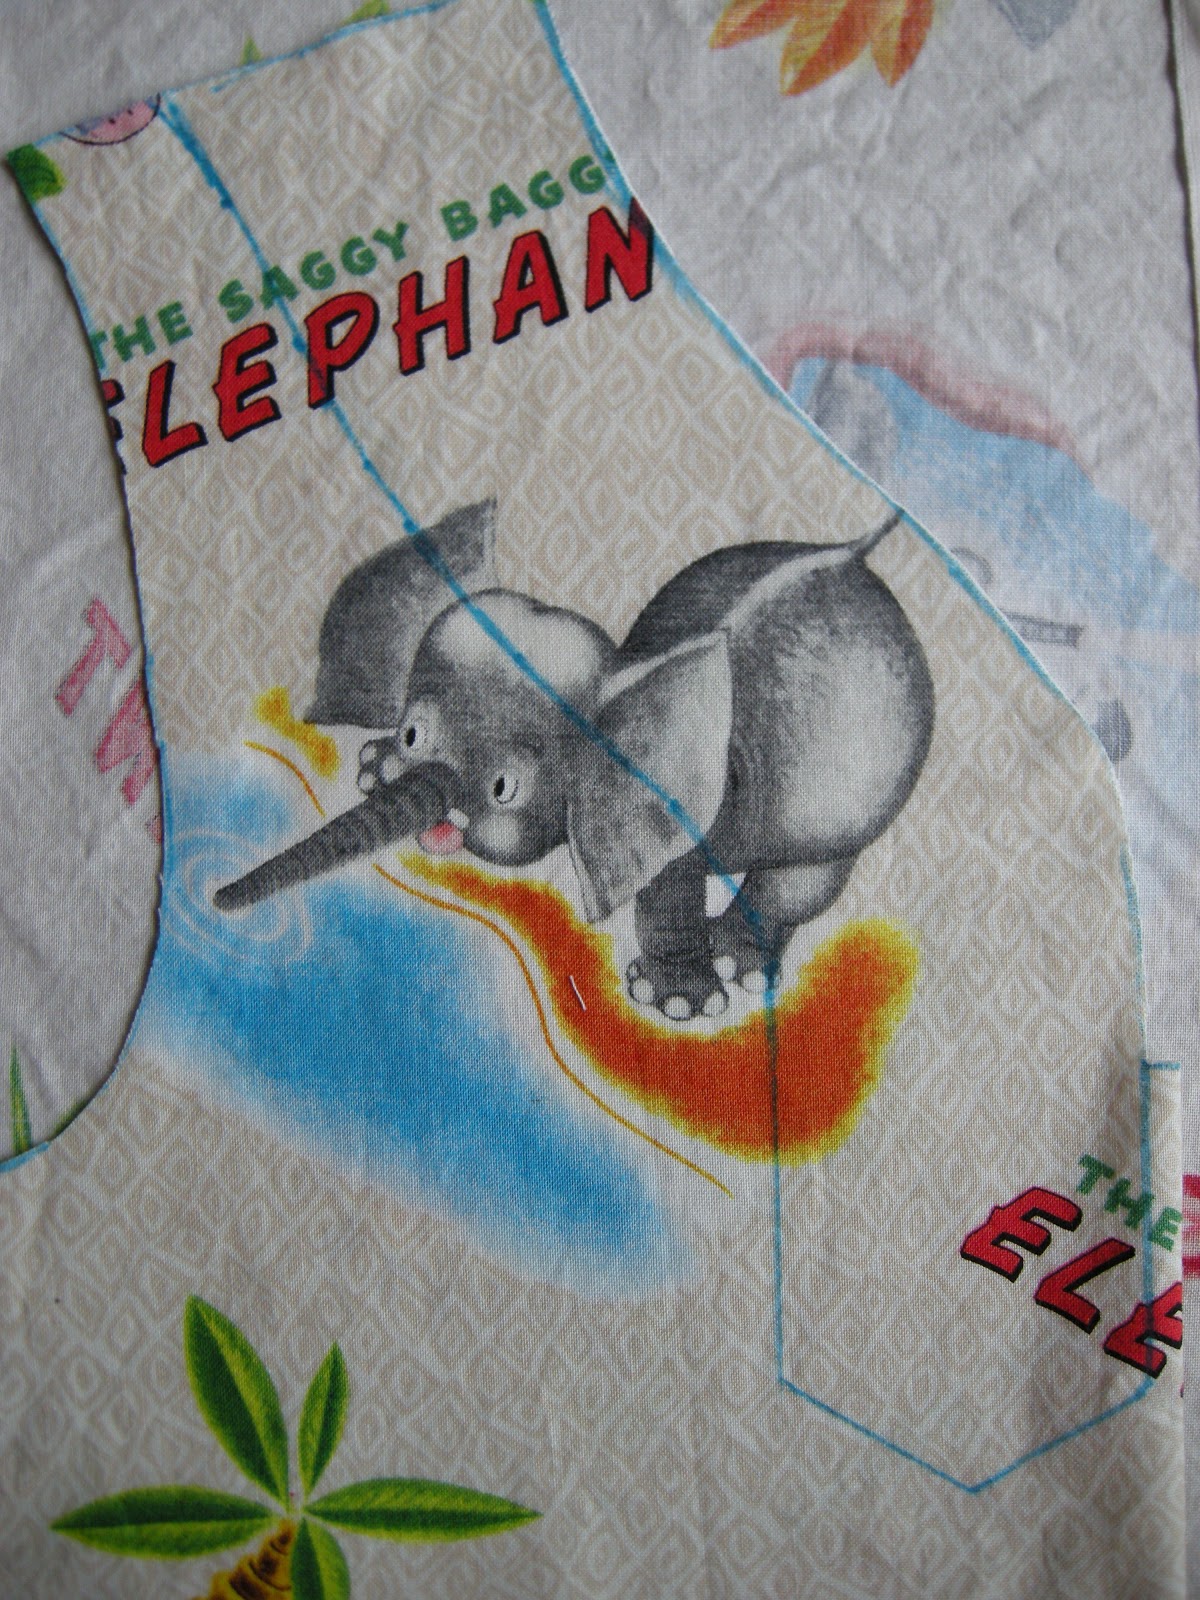
Then, directly on the front piece, using the measurements from comparing the pieces on the original pattern, I used a fabric pen to mark out the tab piece.
Then a little connect-the-dots...
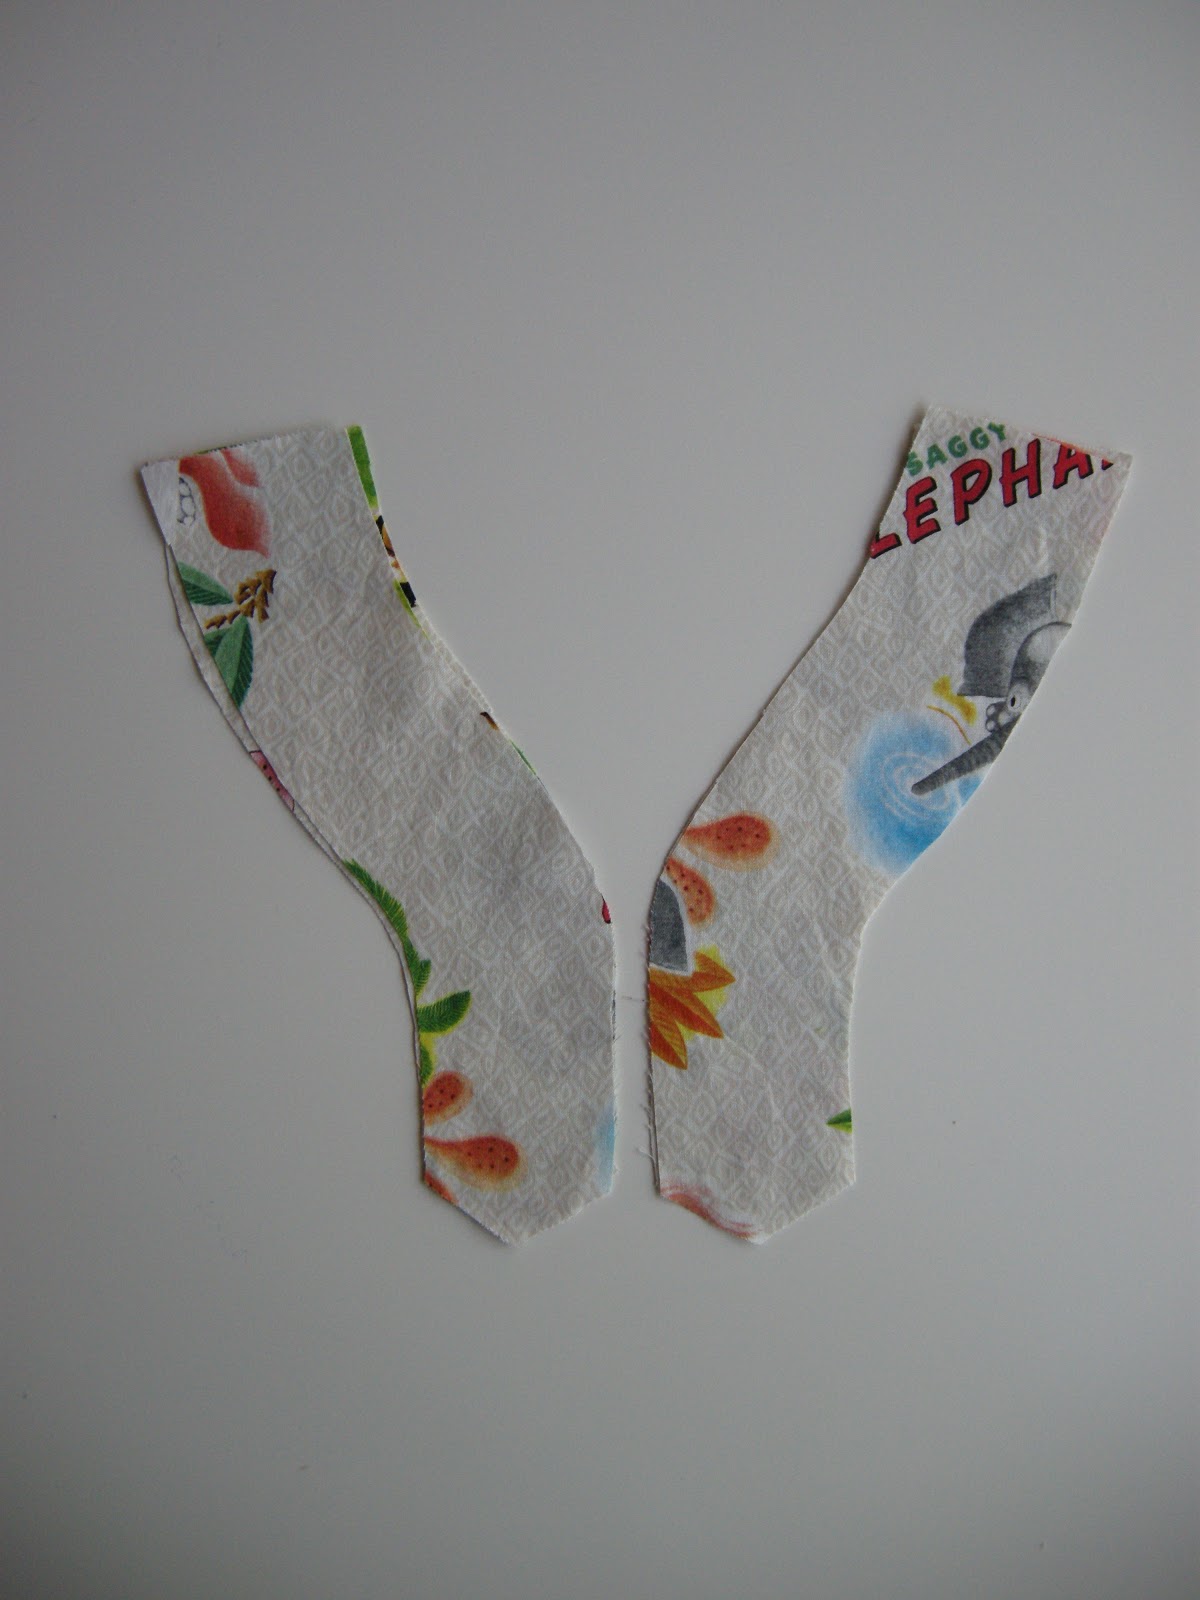
traced the tab piece...
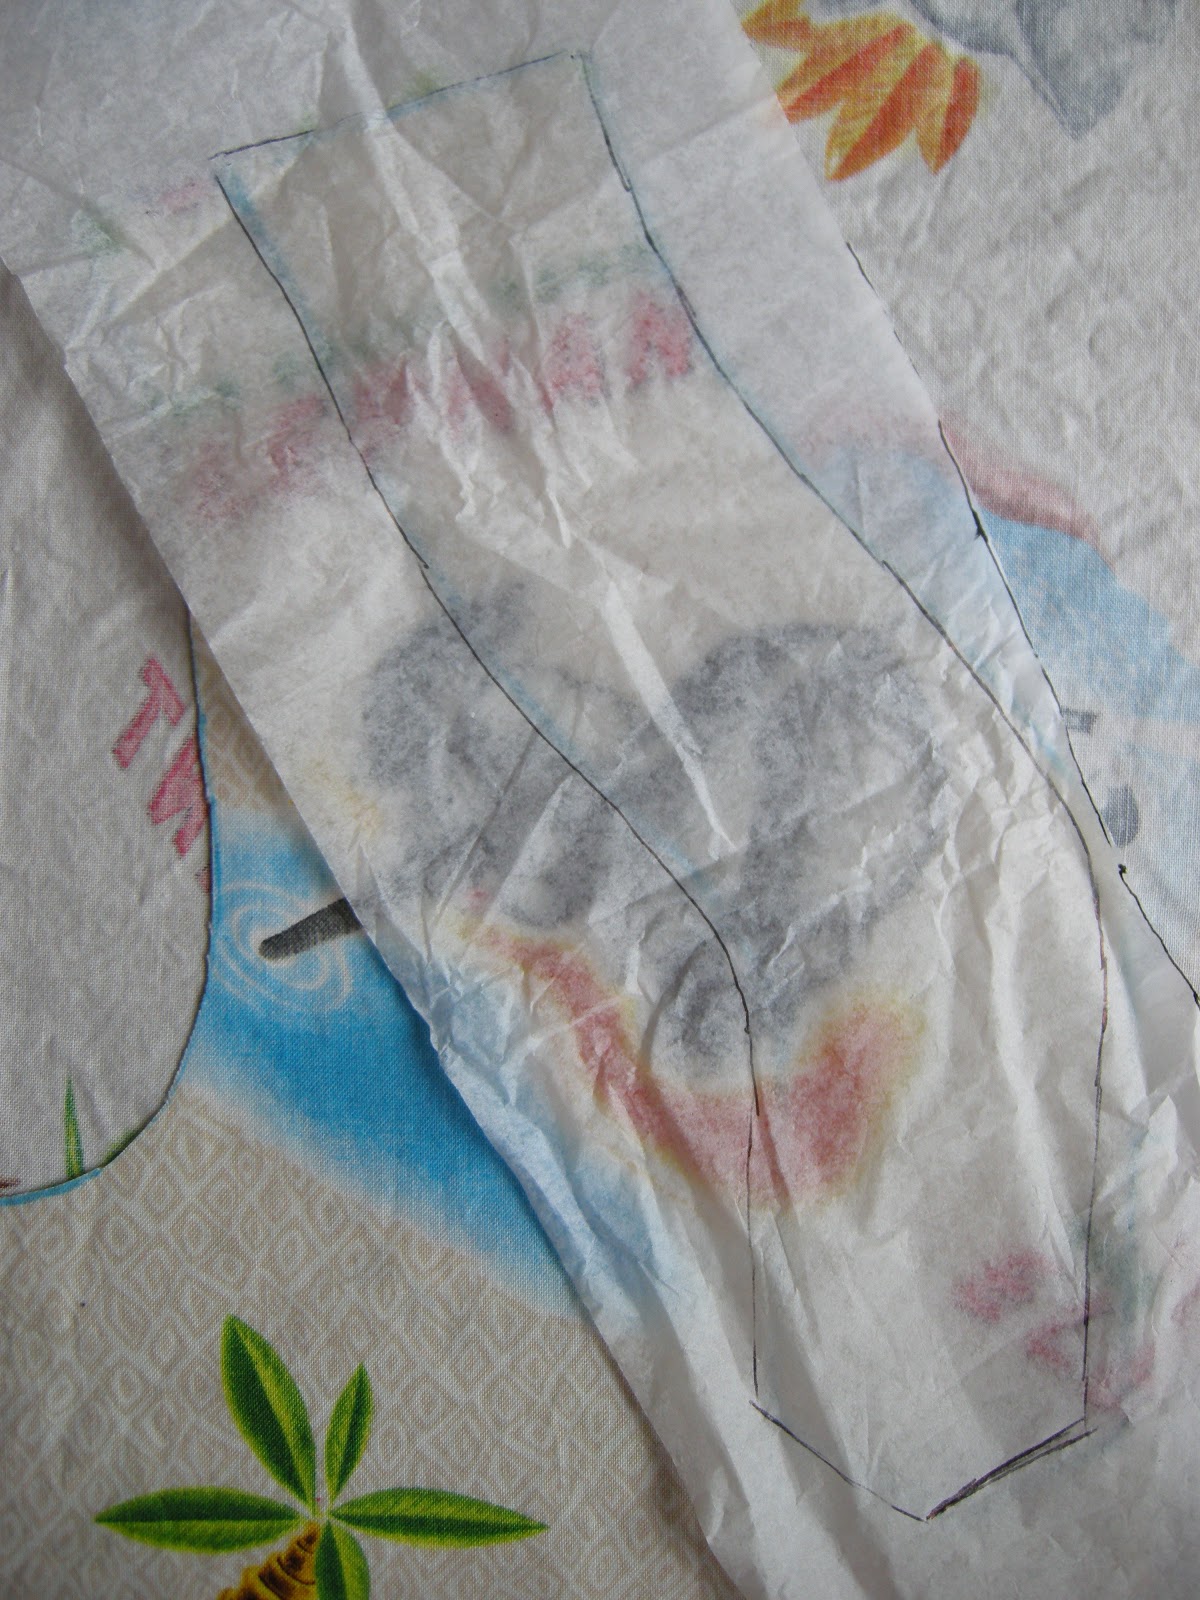
...and had my tab pieces!
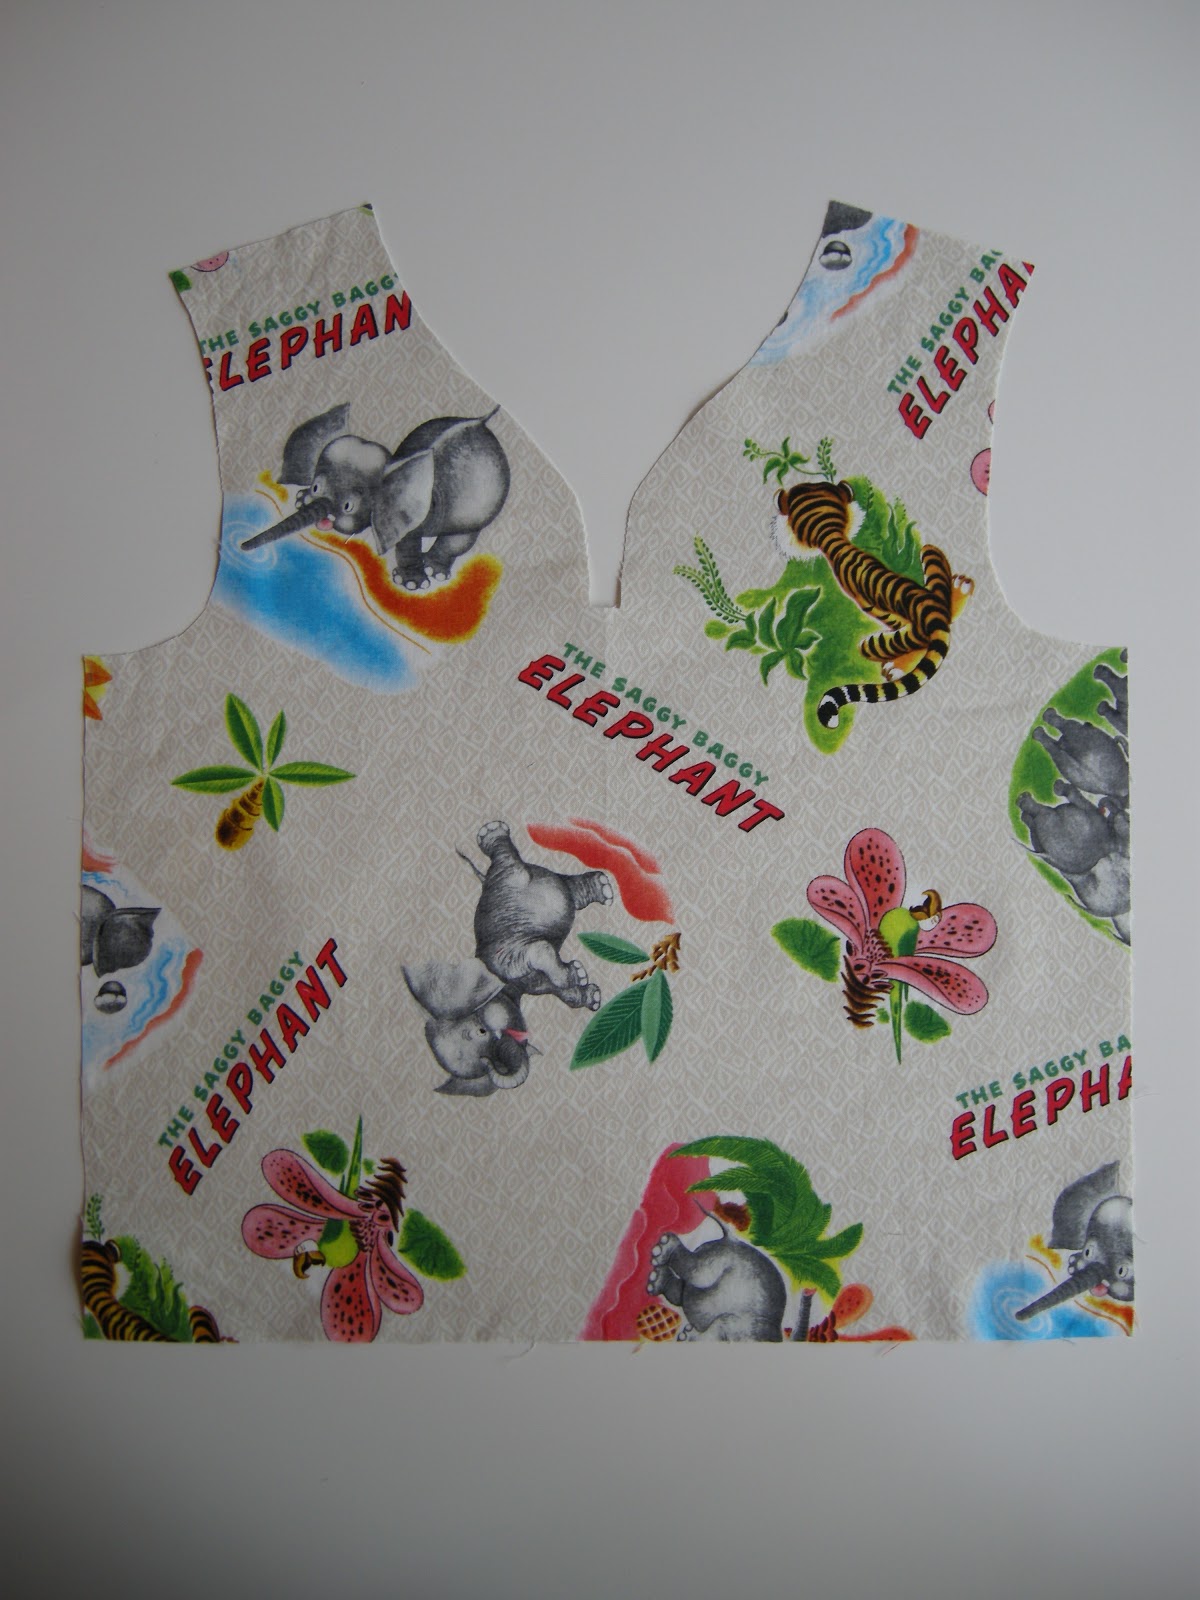
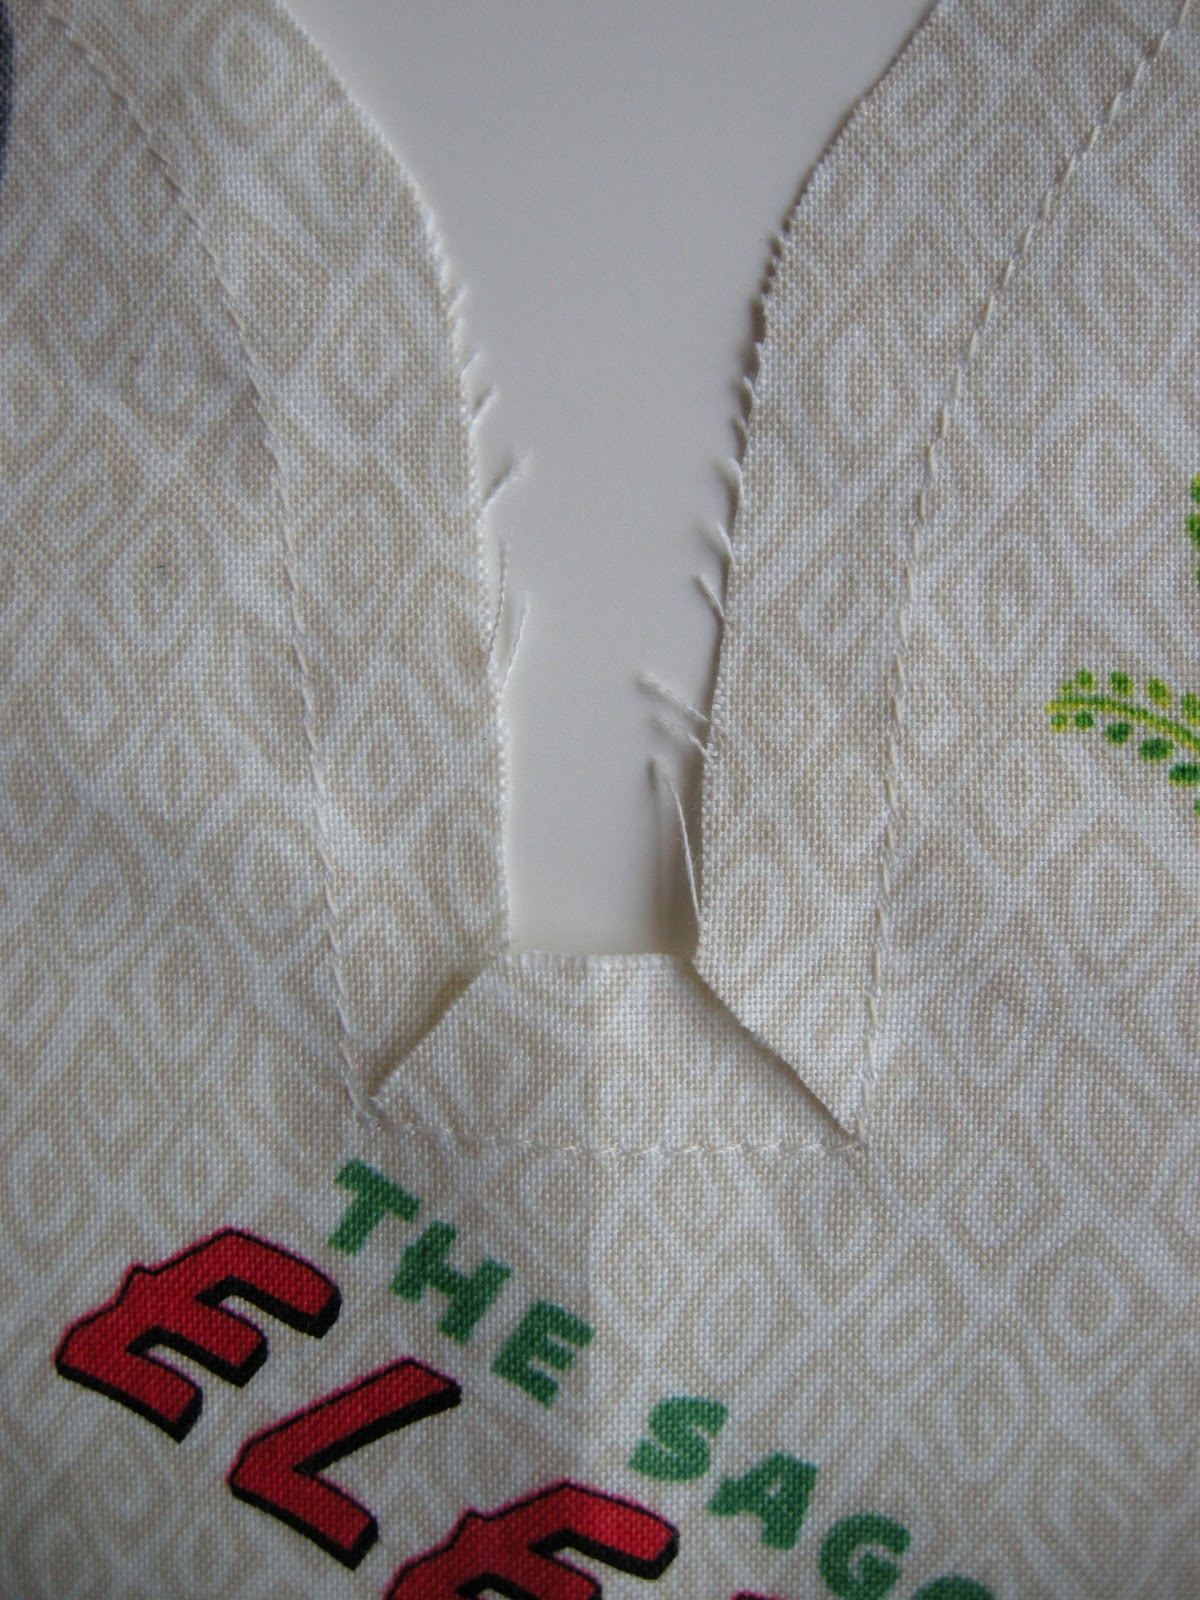
Here are some more pics of how everything came together:
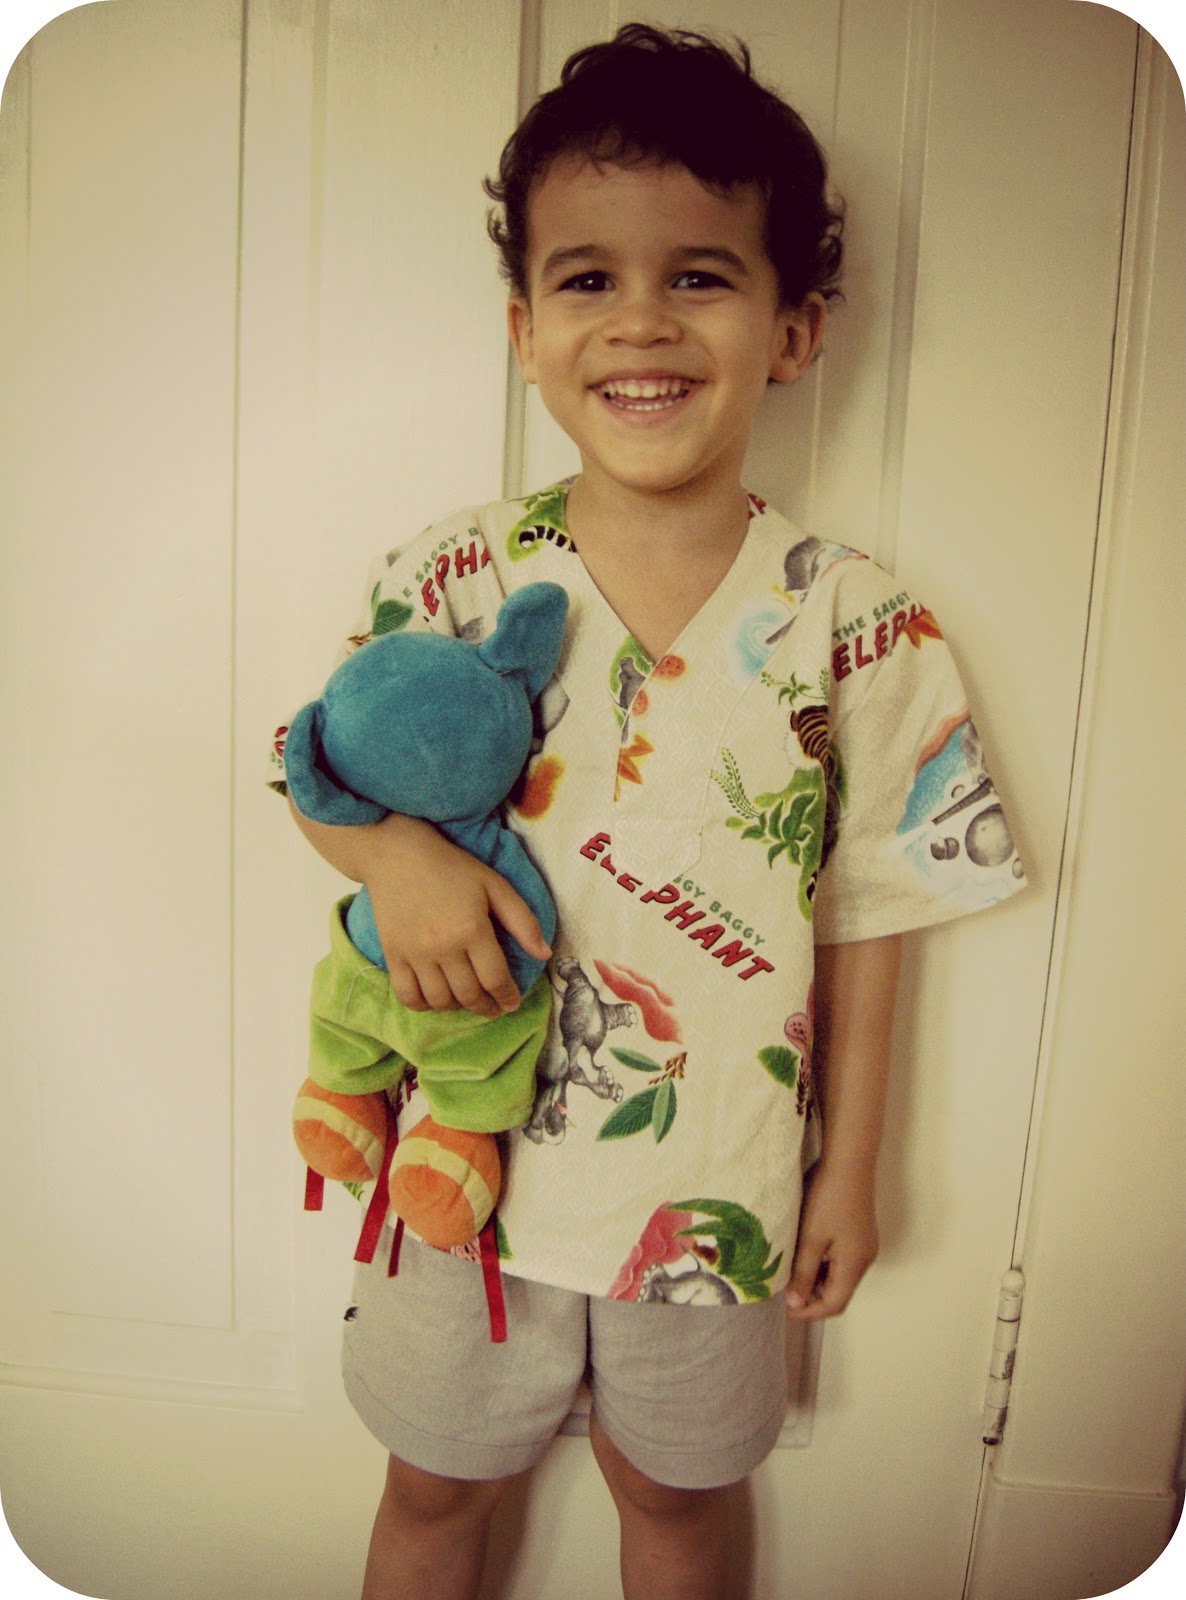
And here is the happy boy with the finished project!

The entire look, including a tutorial, will be featured in my guest post over at Melly Sews a little later on today.
Thanks for stopping by!


Post Comment
Post a Comment