Top Social

create classic children's clothing

Image Slider

Showing posts with label sewing. Show all posts

KCW Day 6 & 7

Sunday, April 28, 2013


Jumpsuit
Pattern: Self-drafted
Fabric: 100% Linen with Out to Sea Ship Wheels Blossom accents

Bubble Pocket Shorts Pattern

Friday, April 19, 2013


The Bubble Pocket Shorts pattern is available for purchase HERE.

Loose-fitting elastic waisted shorts featuring cuffed leg openings and elasticized bubble side pockets.  Classic style is easy-to-make with a front tied bow, while the Sailor style offers six functioning buttons and mitered corner bias tape enclosed inside edges for a clean, professional-looking finish.  Sailor style also has adjustable elastic waistband.  Both styles feature a contrasting inside waistband.

  • 42 page PDF document
  • full colour photographs and diagrams
  • numbered, step-by-step instructions
  • confident beginner (Classic style) - intermediate (Sailor style) skill level
  • prints on both standard 8.5X11" and A4 paper
  • includes both imperial and metric measurements
  • full-size pattern pages (11 pages)
  • seam allowances included
  • no serger needed
  • sizes 6 months to 8 years included
  • instantly delivered to your Paypal account e-mail once payment processed


View Bubble Pocket Shorts pattern testers' photos here.

The Bubble Pocket Shorts pattern has been updated to include more sizes, layers, and more!*
Purchase the new Bubble Pocket Shorts pattern  HERE.
*please note the updated pattern no longer includes the Sailor option. 


Pocket Capris - Shorts version

Sunday, July 15, 2012


UPDATE...Now available as a pdf pattern:


My second pair of Pocket Capris is done!  This time, I decided to shorten them and use a t-shirt for the material.  I wasn't sure how I'd like it in a knit fabric, but I'm very pleased with how they turned out...sooooo comfortable and soft.  This is a perfect addition to Anja's wardrobe, since she has very few pairs shorts (as you may have noticed, there's been a bit of a capri theme going on around here).  Instead of doing an inverted pleat for the inside leg, I gathered.  Other than that, I followed the original tutorial.  The tunic is part of this look that I made for Project Run & Play


Cutting up the original t shirt that I got it for $4.94.  A lot of the knit fabric I buy is from sale racks at Walmart or Joe.  There isn't a very great selection of knits around here at fabric stores.  


I didn't take many in-progress photos, but here's one...


The demolished t shirt after the project is finished...


Now to go submit it to


shorts on the line button


DIY piping

Thursday, July 12, 2012


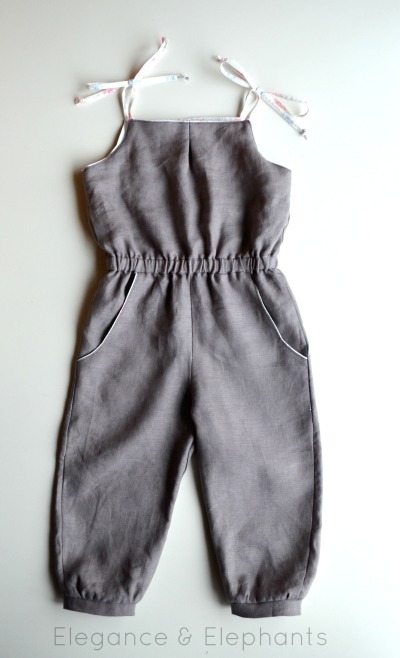
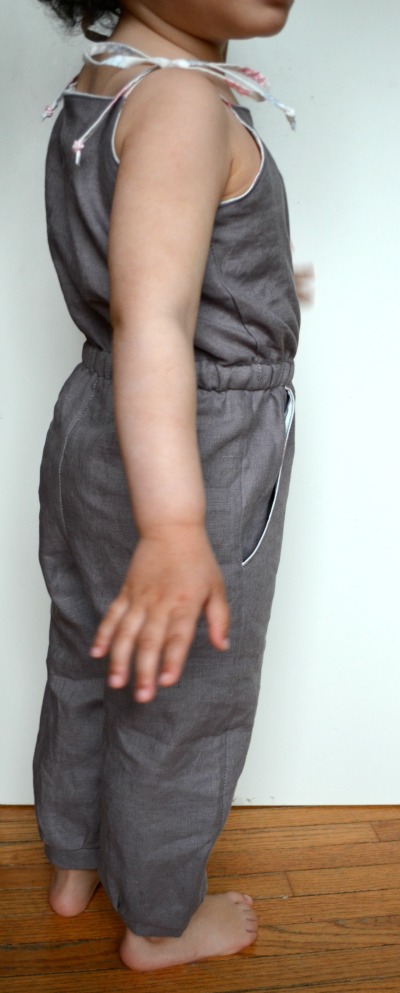
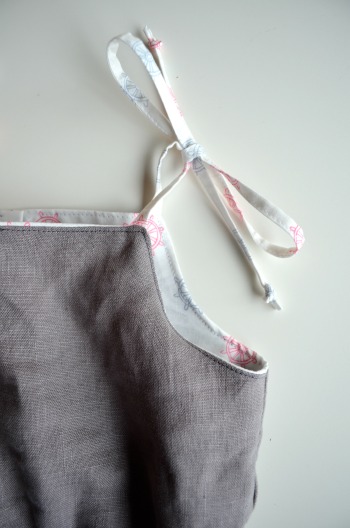
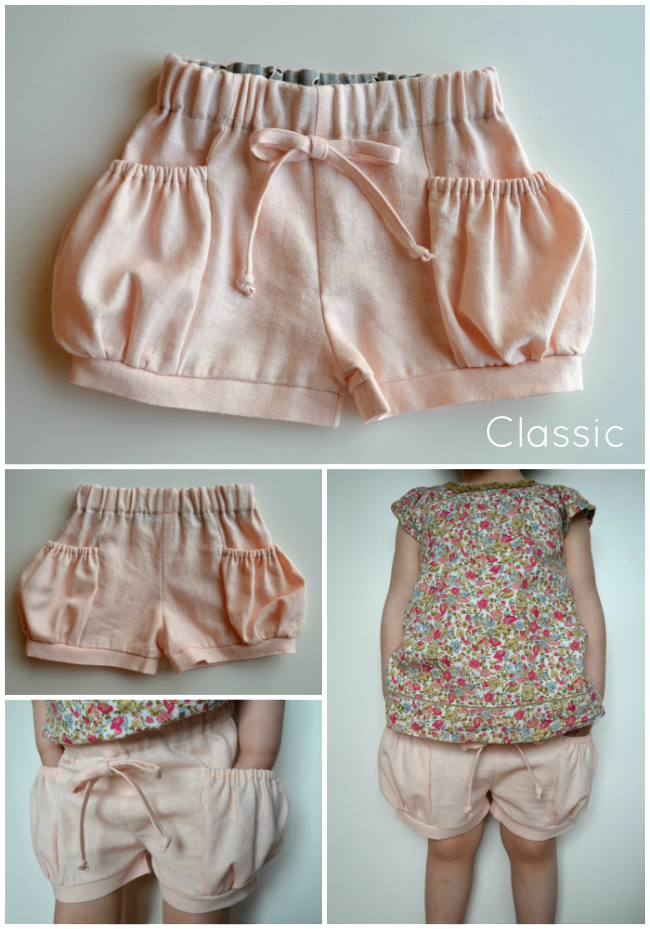
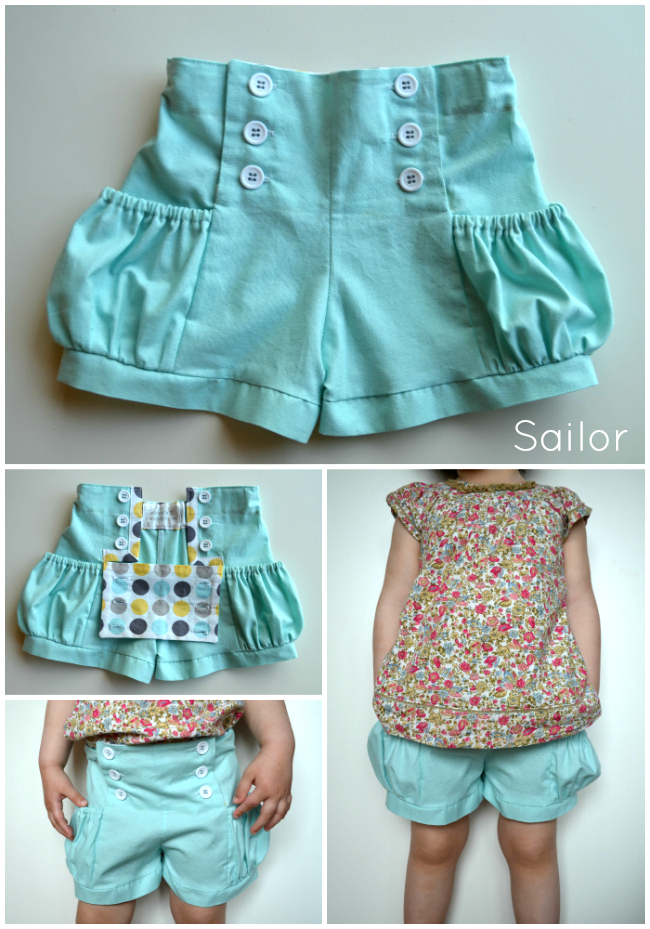
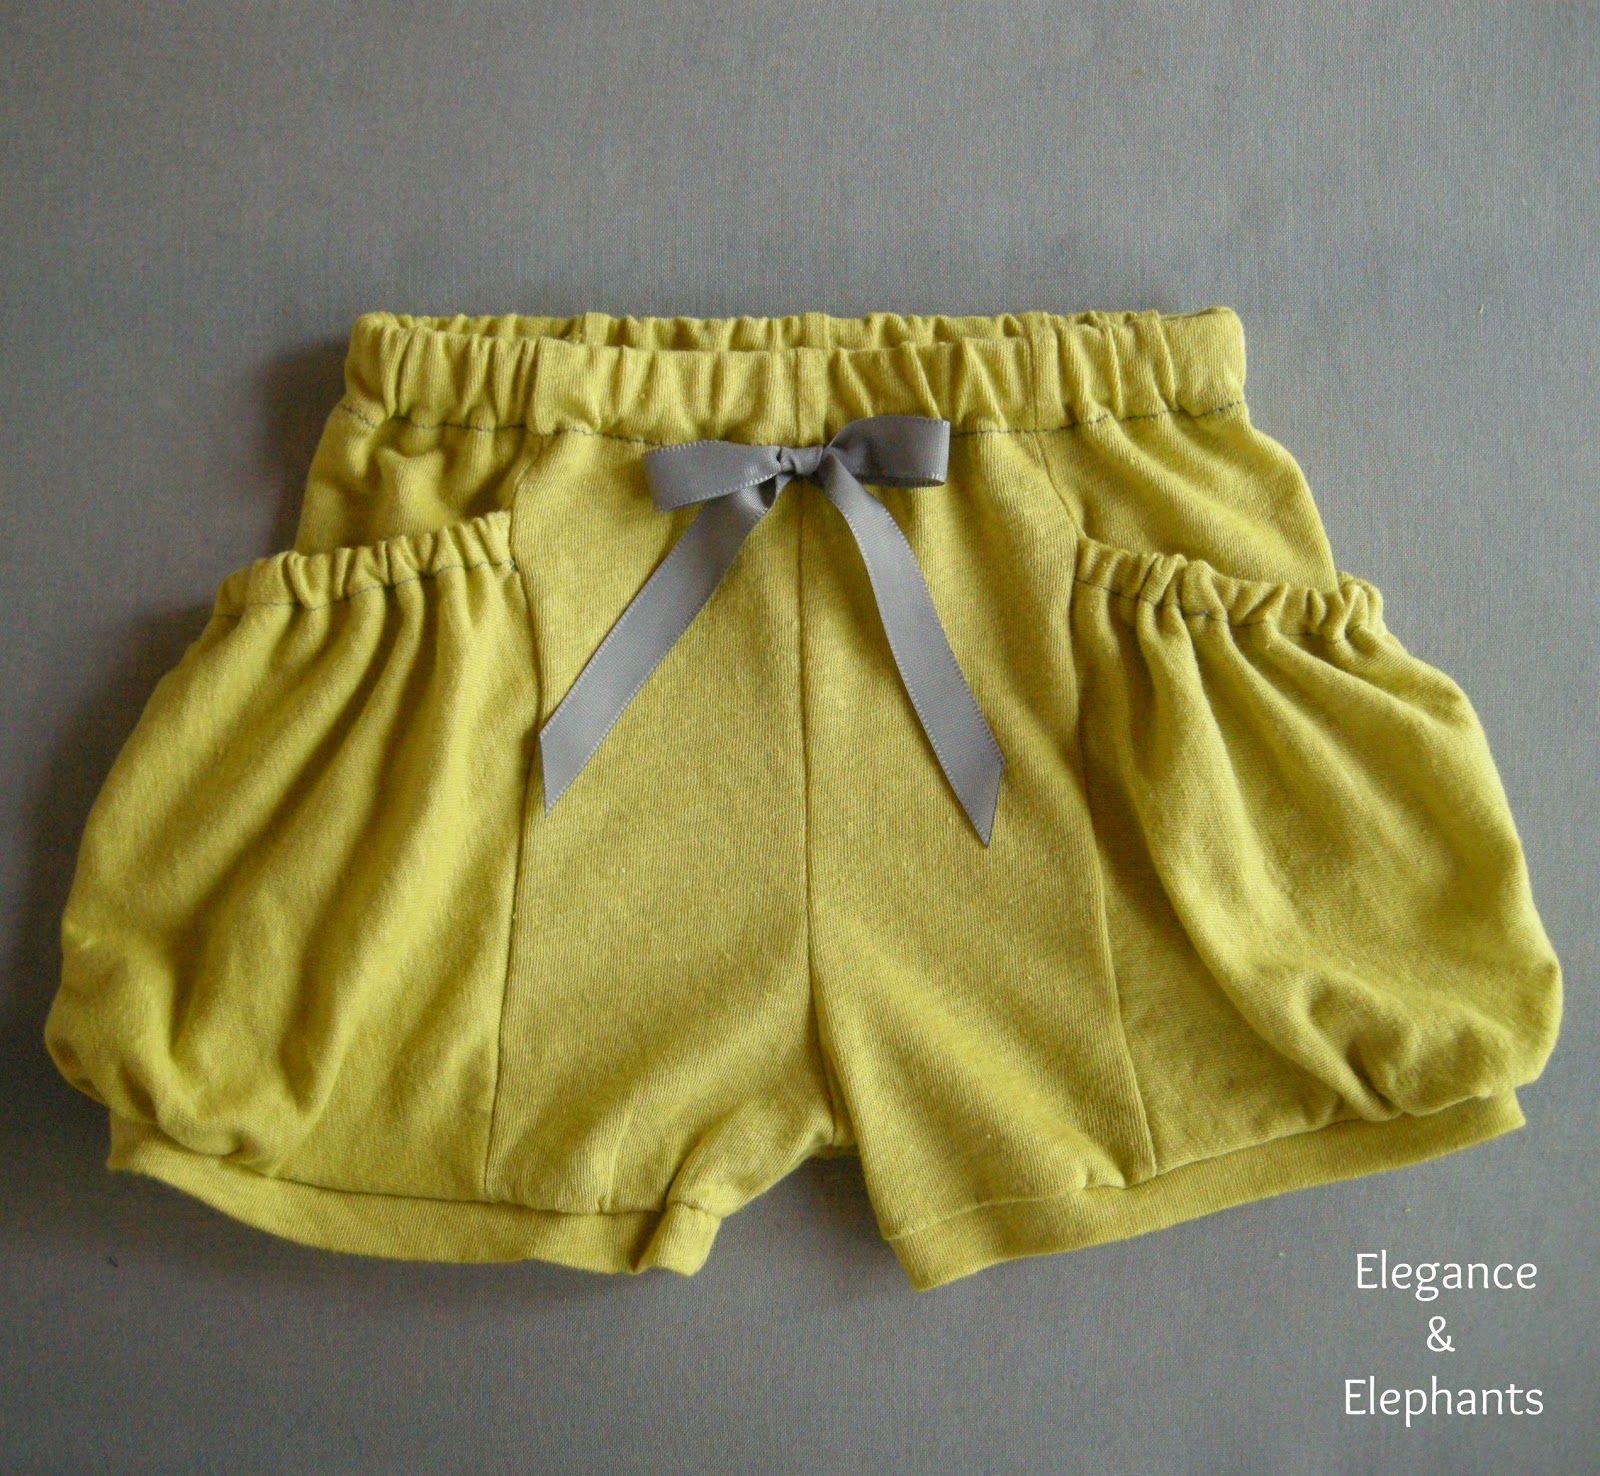
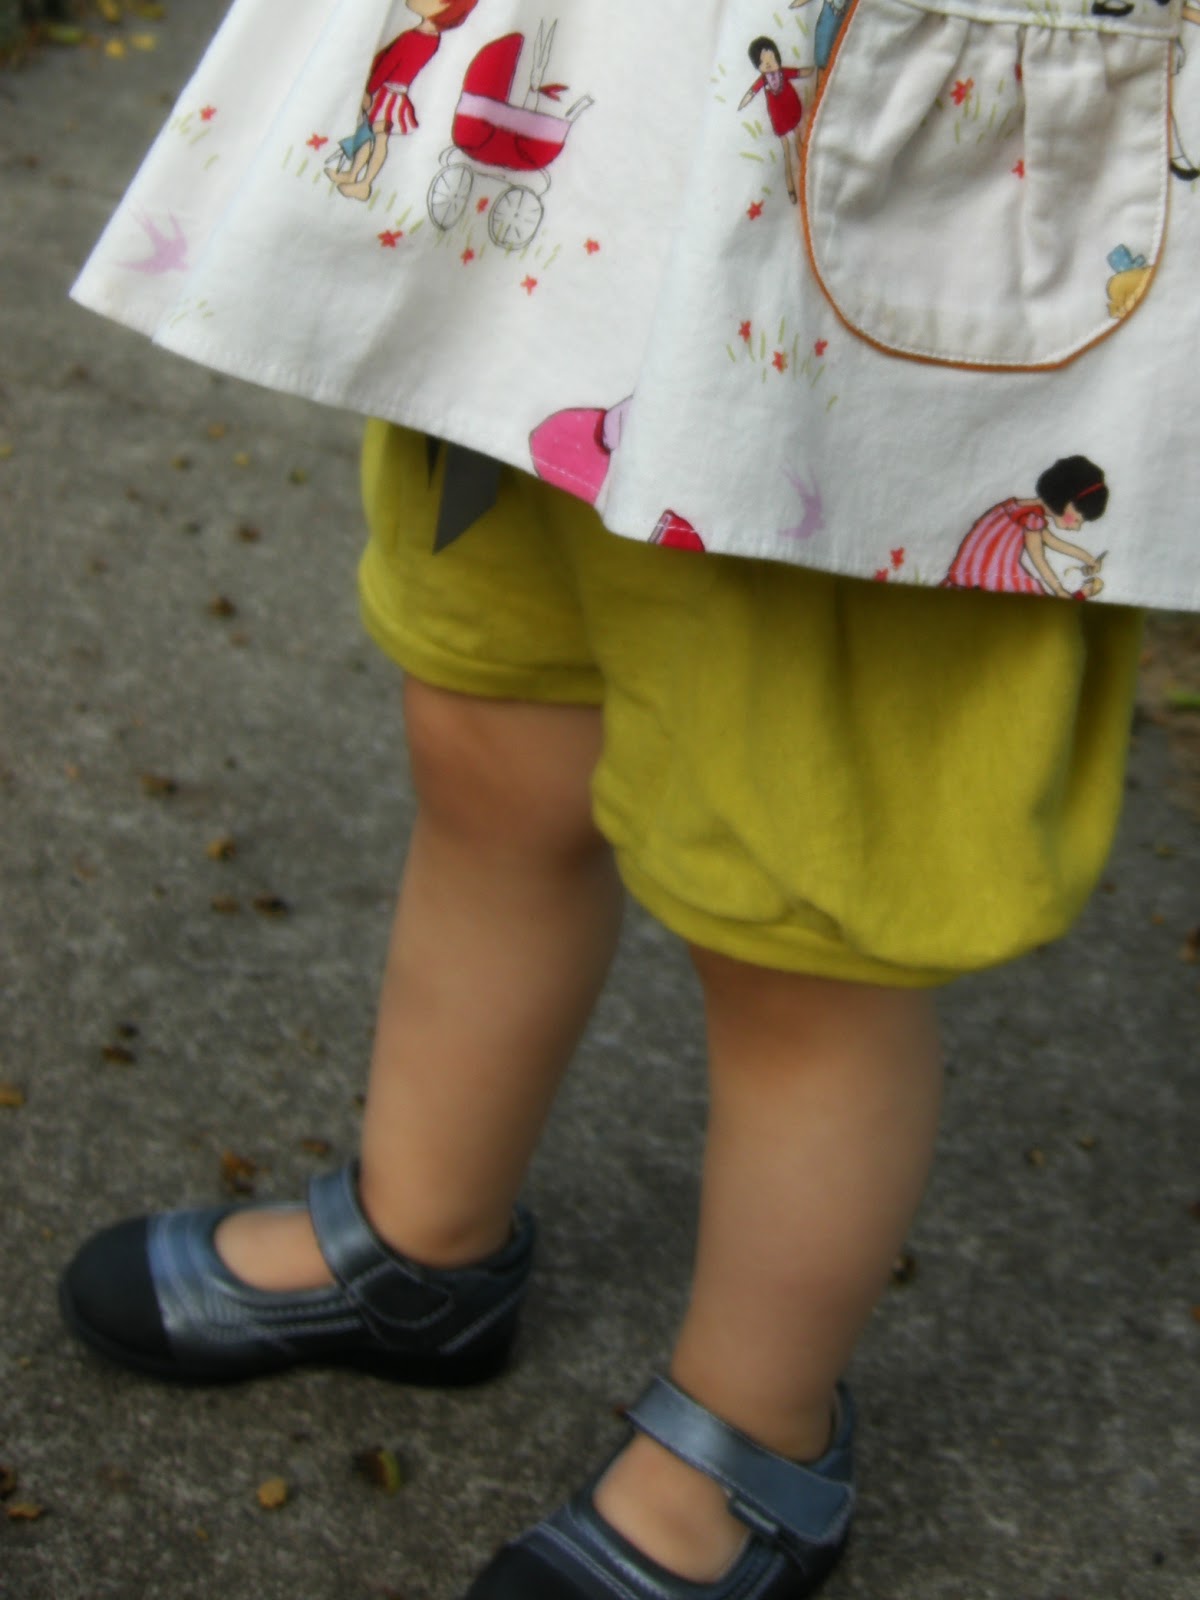
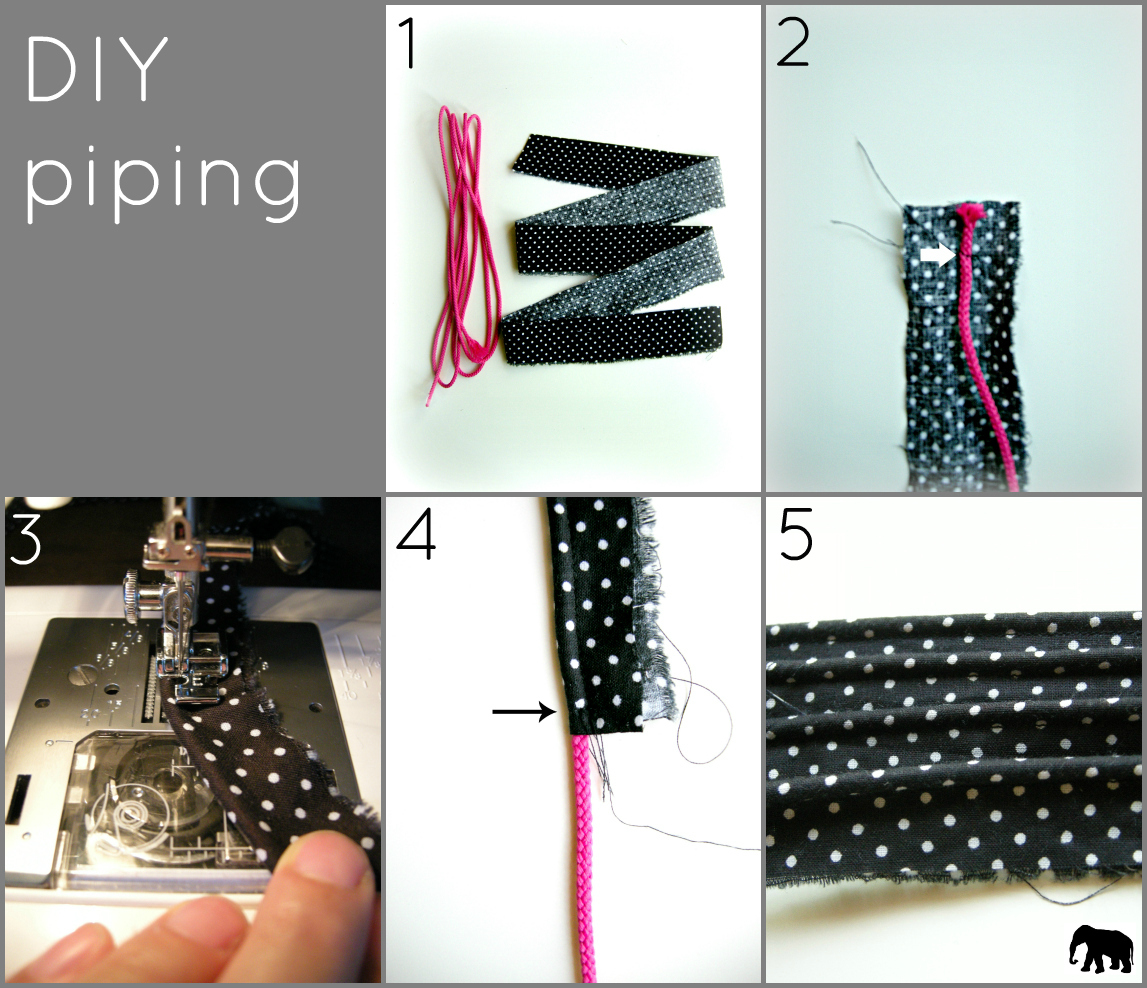
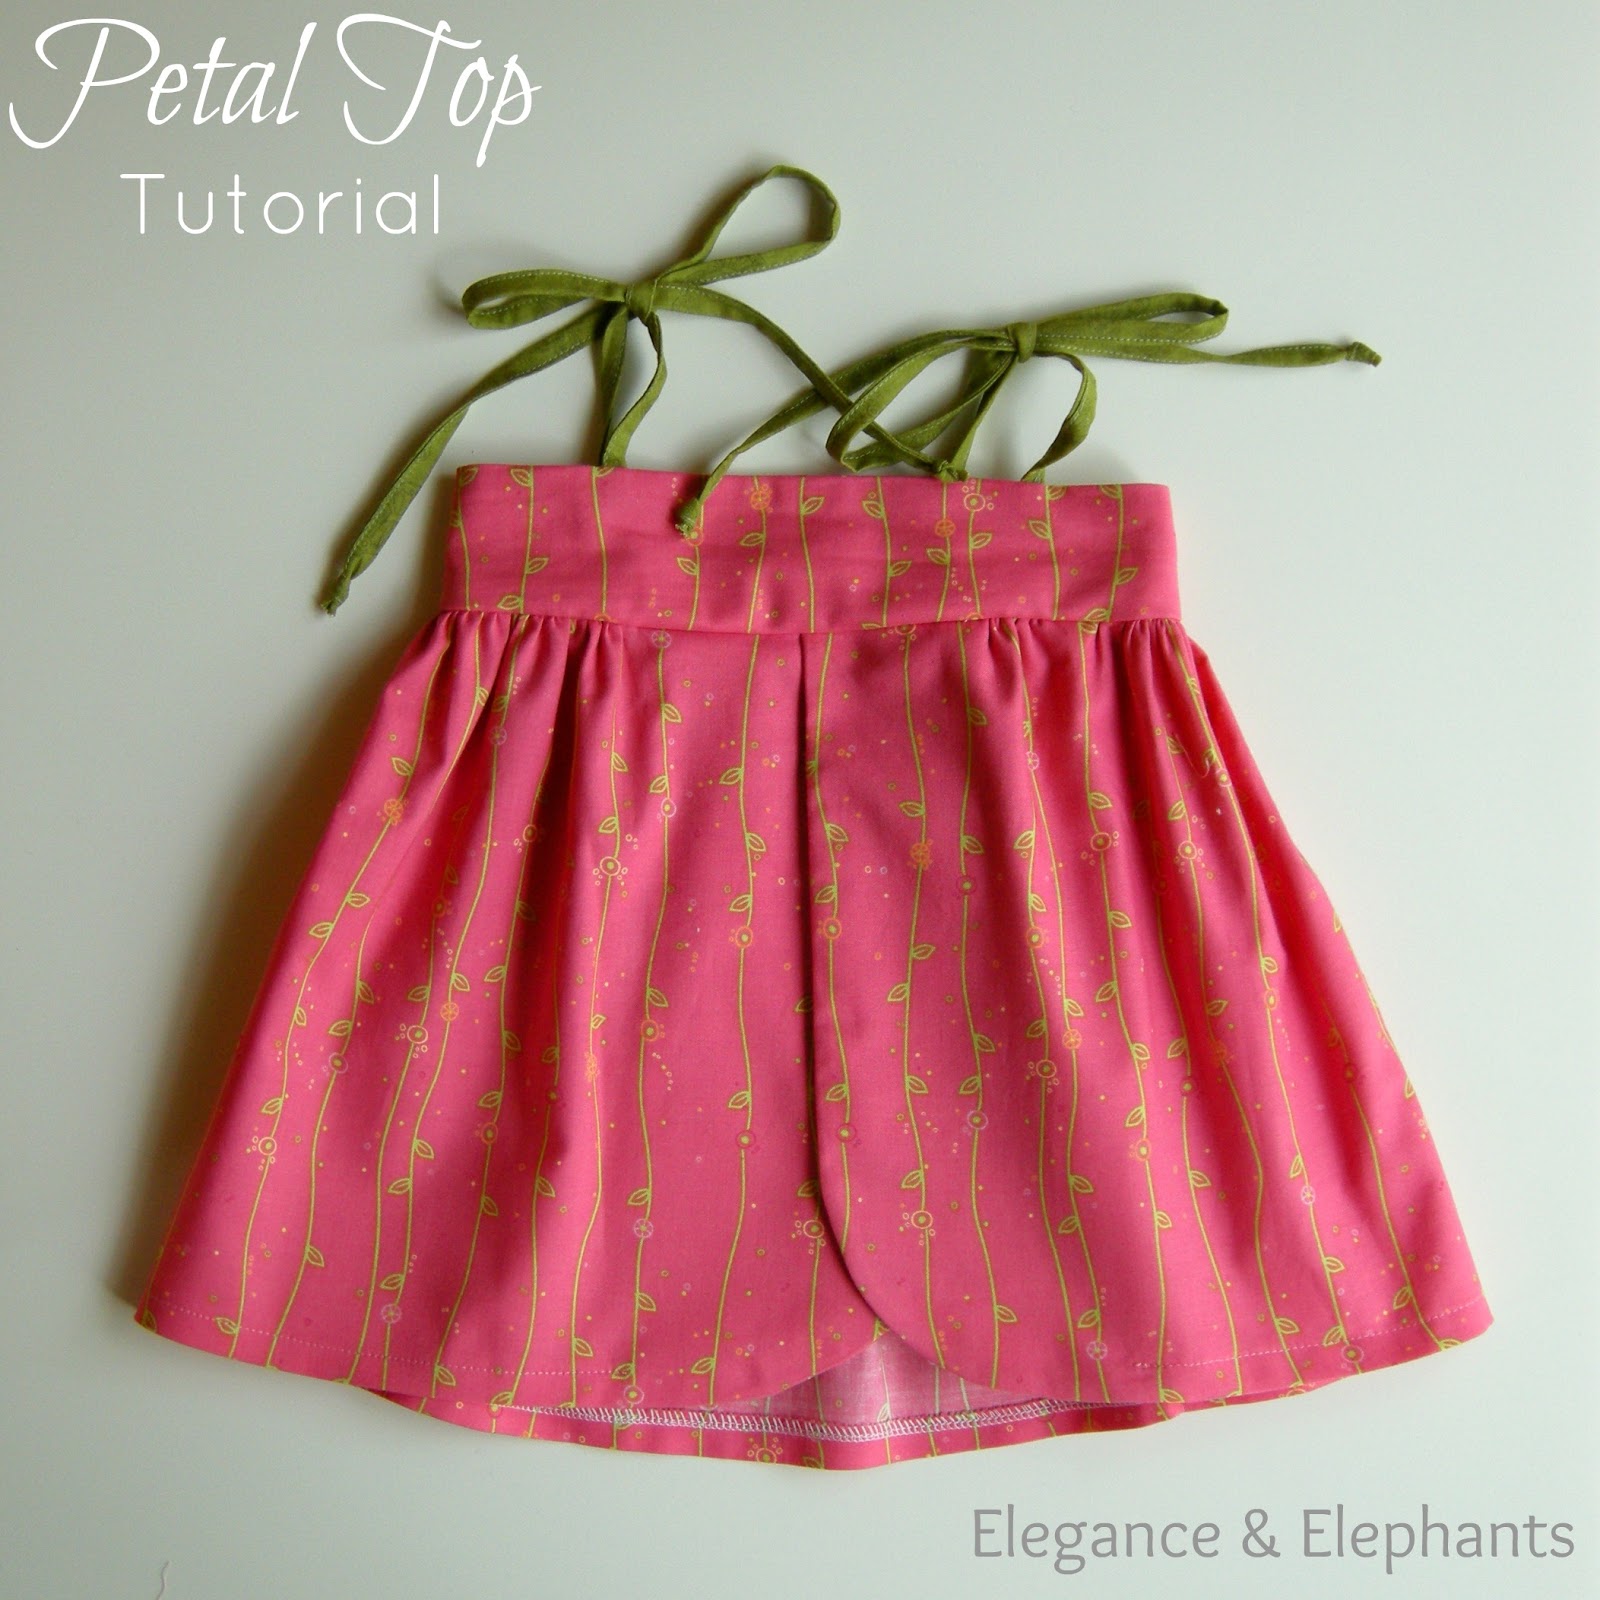
Piping is a great way to accent your projects and it's pretty unbelievable how easy it is!  
Here's how I make it:

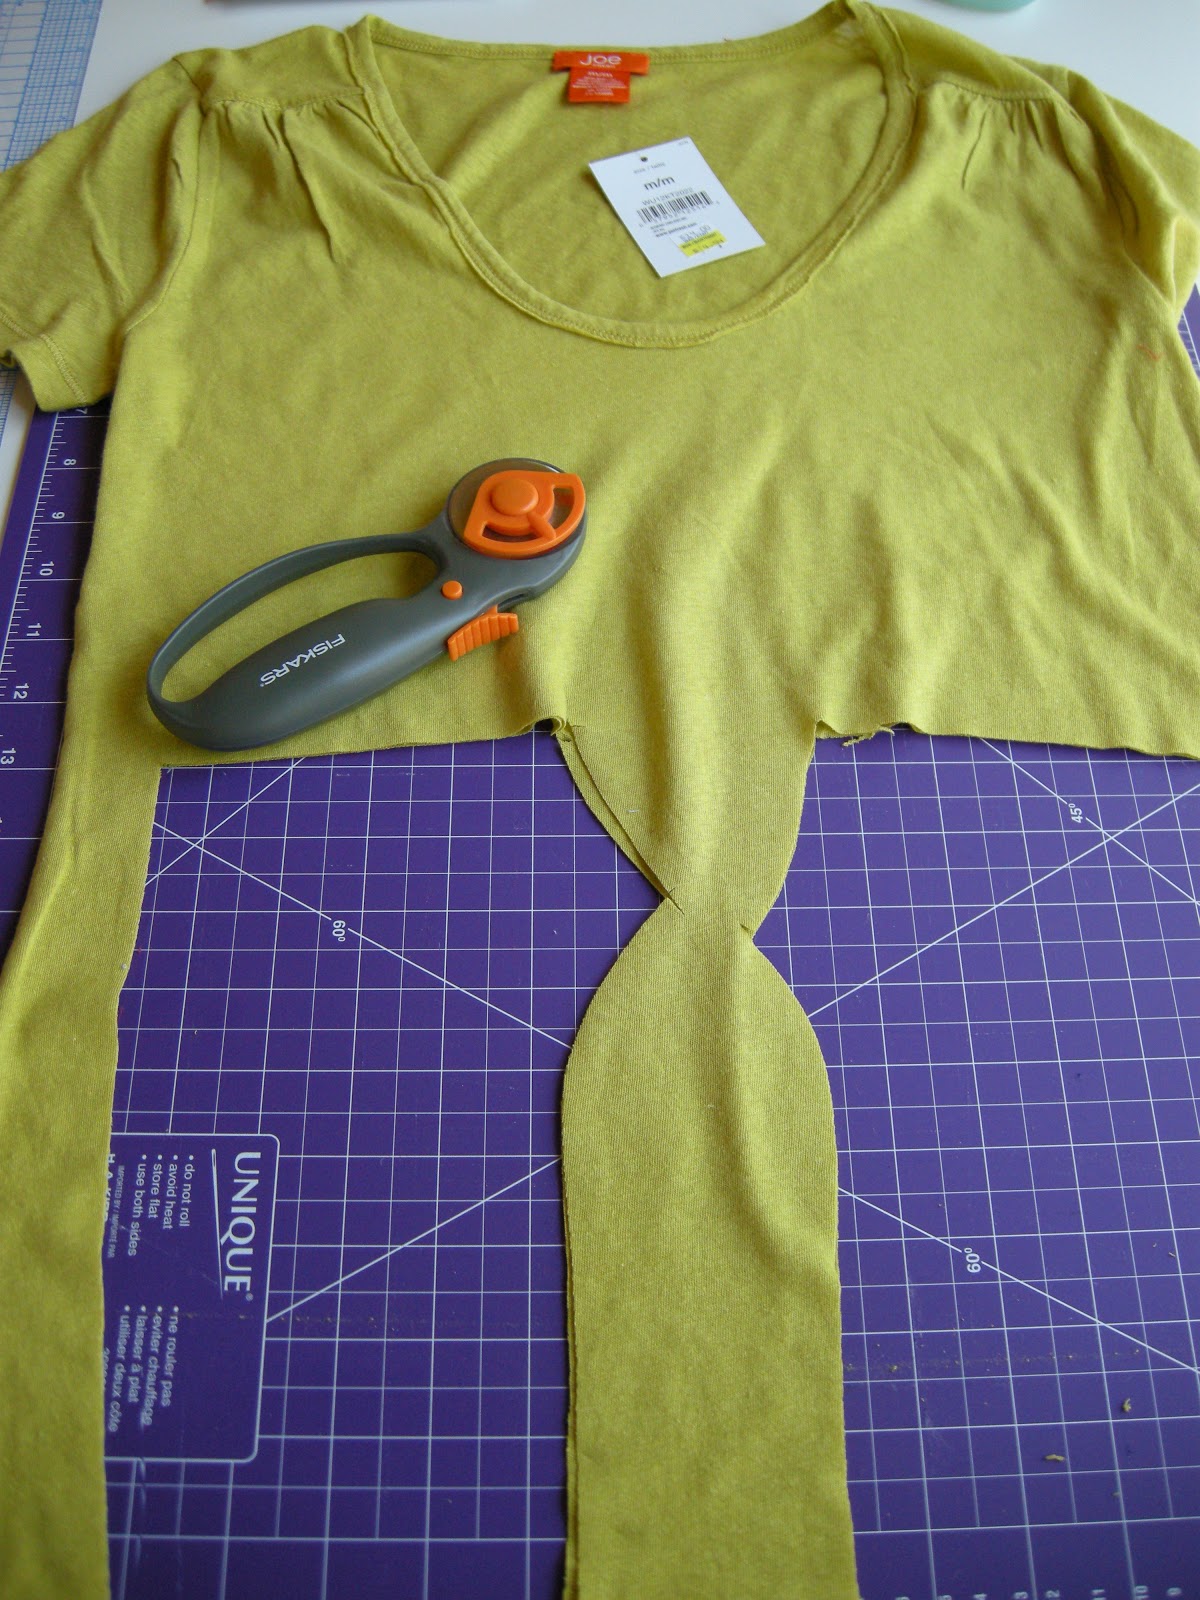
1.  your supplies: some cording, and some fabric, about 3 cm/1" wide and as long as you need
2.  attach your cording to the fabric...a little awkward, but just make sure you have a few stitches in there
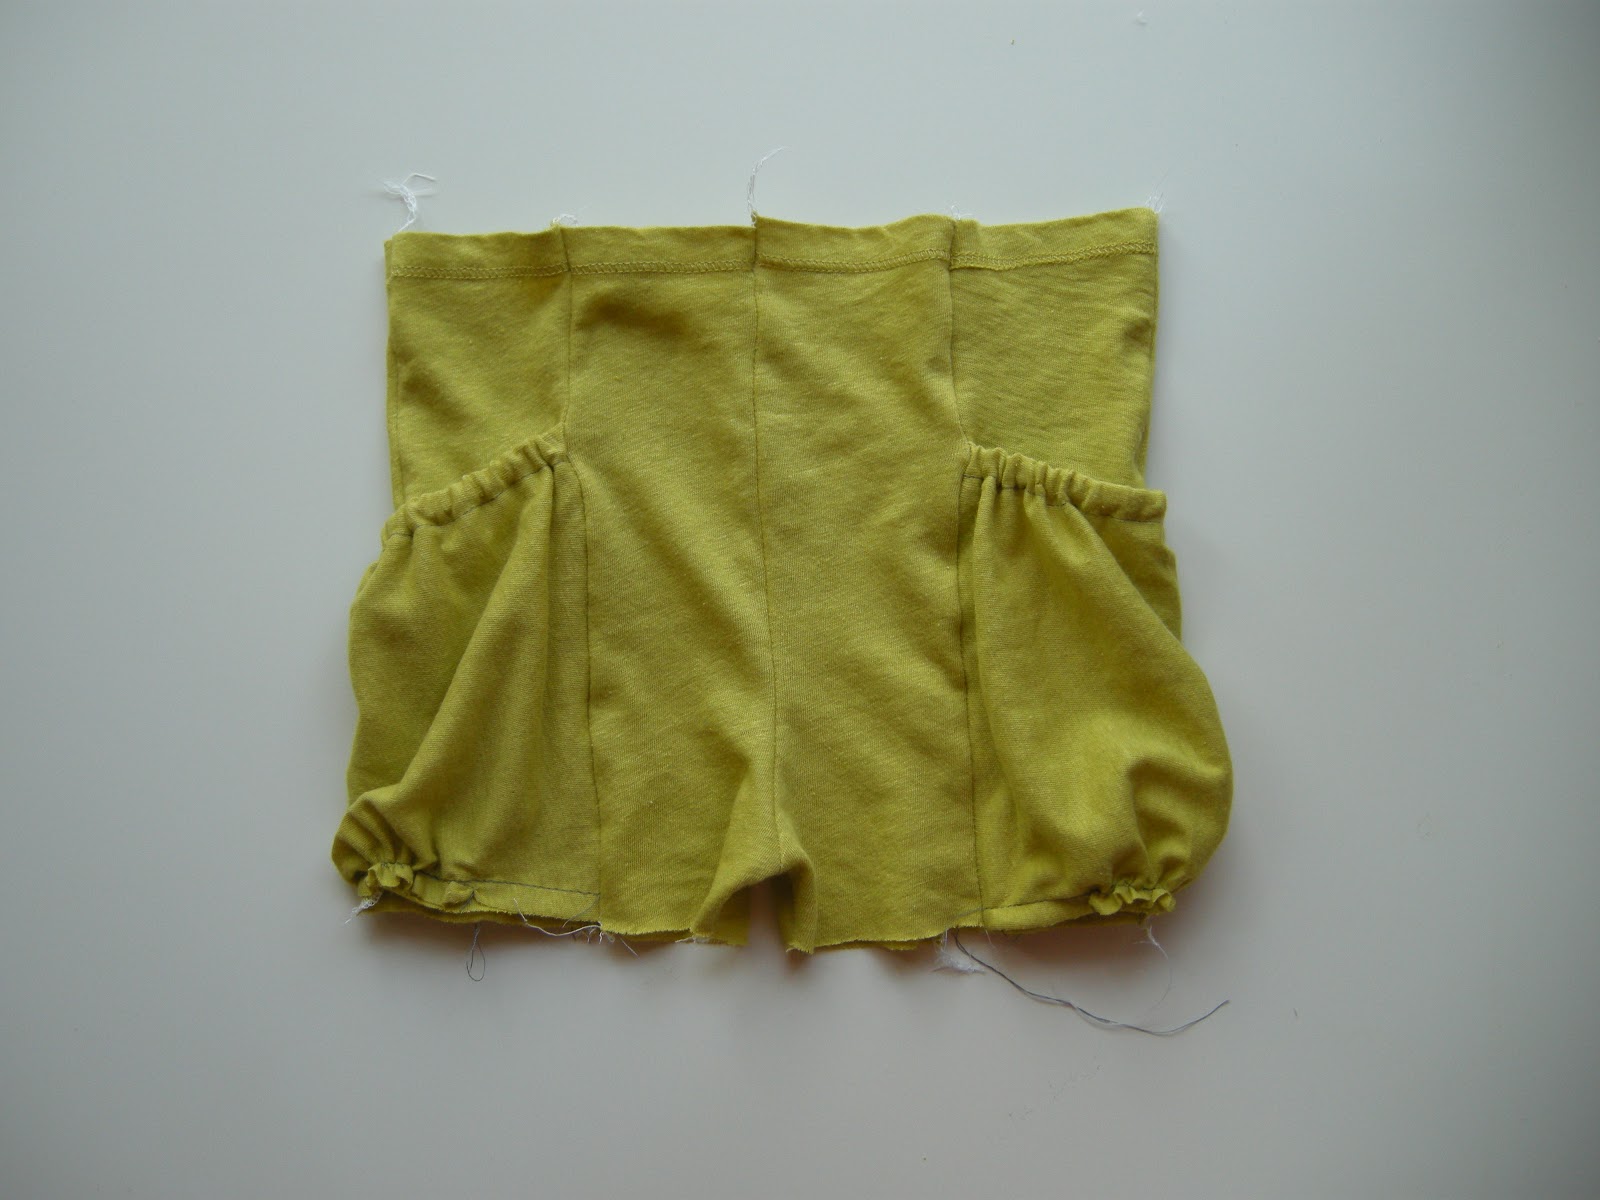
3.  fold over the fabric and stitch as close to the cording as possible using a zipper foot.  I found that as I was stitching, it helped to feed the fabric in at an angle
4.  a few stitches at the end
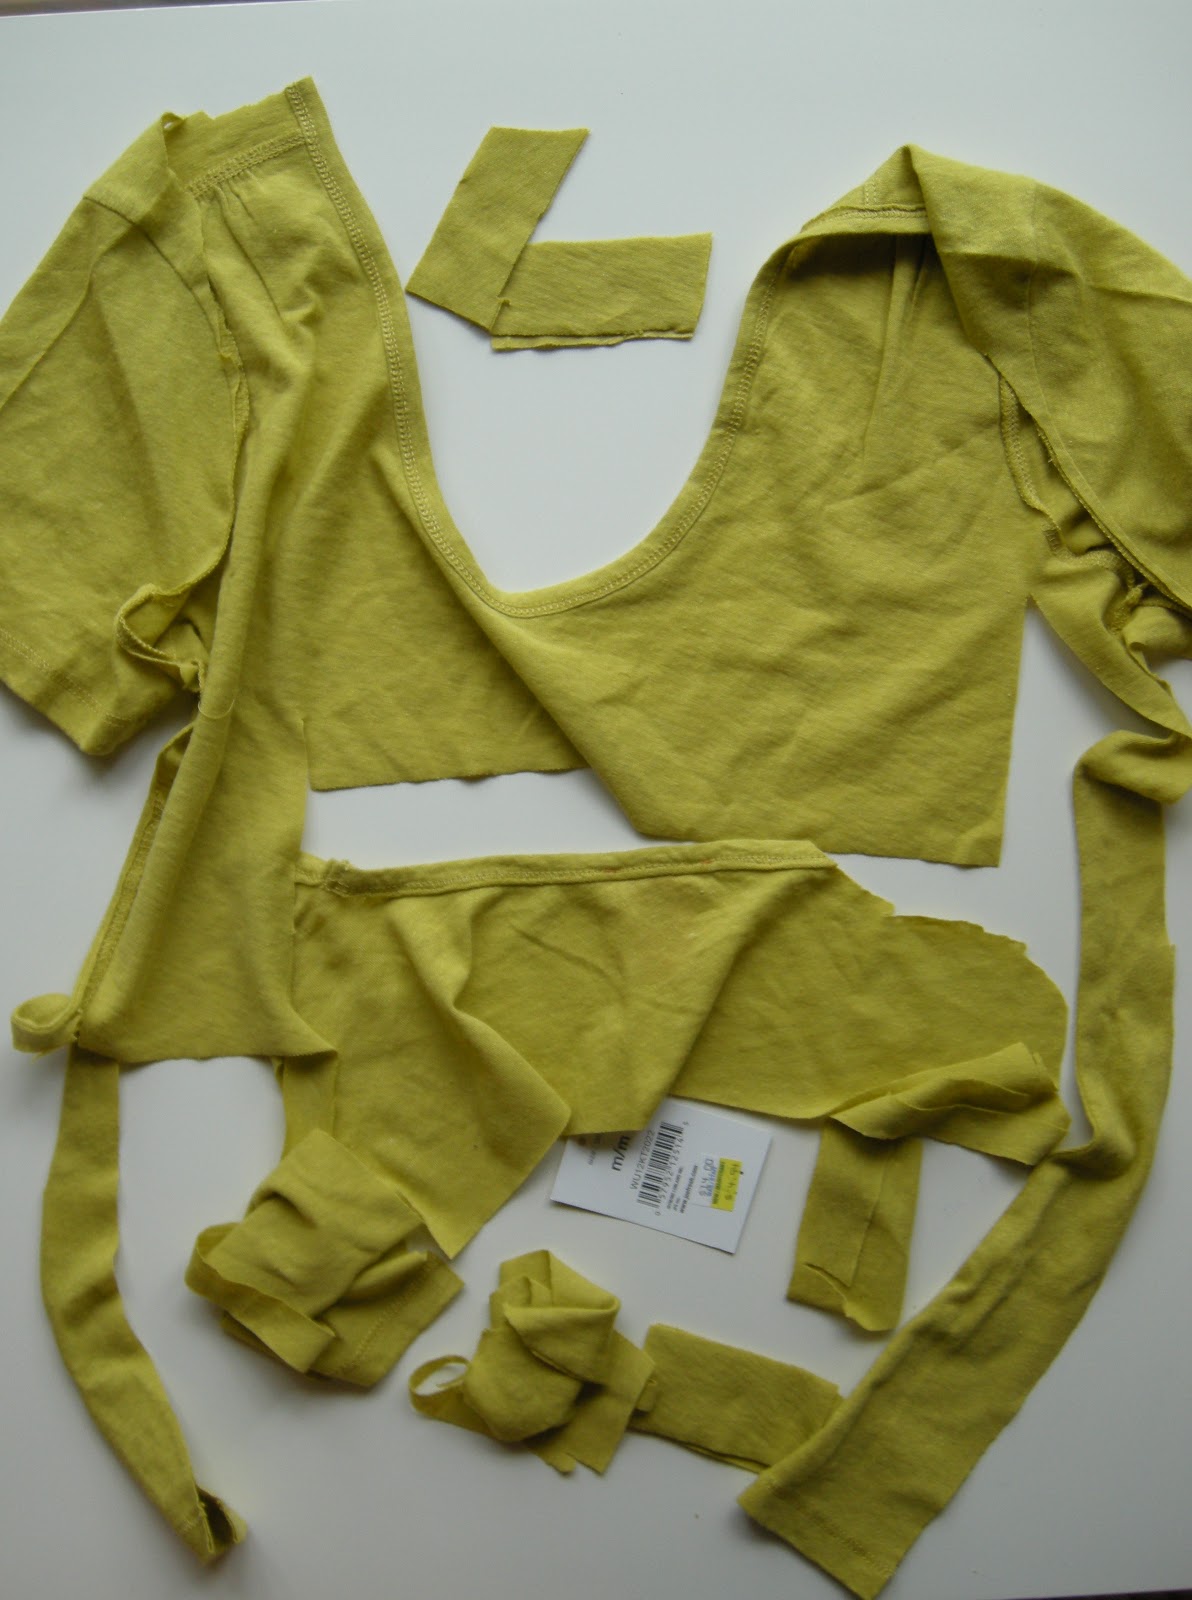
5.  admire your work!

Petal Top Tutorial

Thursday, July 5, 2012

I've been intrigued by the many petal tops and dresses I have been seeing lately, and decided it was time to get in on the trend.  In keeping with my typical design aesthetic of simplicity, the petal influence is quite subtle, but still effective, I think.  I won't be giving many specific measurements, since this it will be very easy to size this to whomever you choose to make this for.  And feel free to add some length if you want to make this a dress.  Anja has enough dresses, so I wanted this to be a long top 
(have you noticed I make a lot of those!?).  

So, here it is, the Petal Top Tutorial:


Make your straps using this tutorial.


Turn your bodice right side out, and iron well.


How to Make Bias Tape Ribbon

Tuesday, July 3, 2012
I love using bias tape.  It has so many uses, but I especially like to use it to finish edges and for creating bows to match the fabric of the particular garment I'm sewing.  Store bought bias tape is a bit, well, stiff, and although I do use it from time to time, I've been avoiding it lately.  

There are super handy bias tape makers (I've got one on it's way to me in the mail), but if you don't have one, here's an easy way to make your own:


And here are some examples of how it's been used it in some recent projects.


Auto Post Signature

Auto Post  Signature