Top Social

create classic children's clothing

Image Slider

Introducing a Guest: Compagnie M

Friday, June 7, 2013
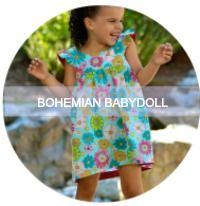
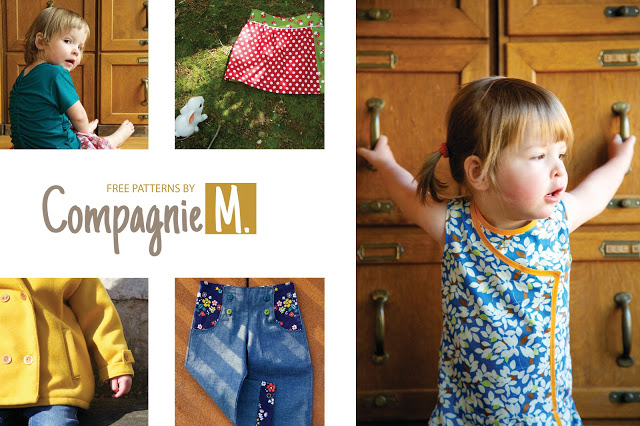
Have you heard of Compagnie M?  This Belgian mom to two adorable daughters, is new to the blogging world, but her original designs are quickly becoming recognizable as her patterns take the online sewing world by storm.  And did I mention she has generously offered FIVE free patterns on her blog?!  I'm so impressed by the quality of her work and her unique designs.  If you don't already follow Compagnie M, I highly recommend you do, because you won't want to miss out on anything Marte is creating!  It is my pleasure to introduce Marte to you today, as my guest.


Hi dear E&E followers,

I’m so trilled to get the opportunity to show you my work today at E&E’s blog! So first of all I would like to thank Heidi. I’m sooo happy to get this chance to present this ‘little Belgian fish in the big sea’! I guess you never heard about Compagnie M. before right!? That’s probably because I only started my little blog about 3 months ago….
But I would like to take you 
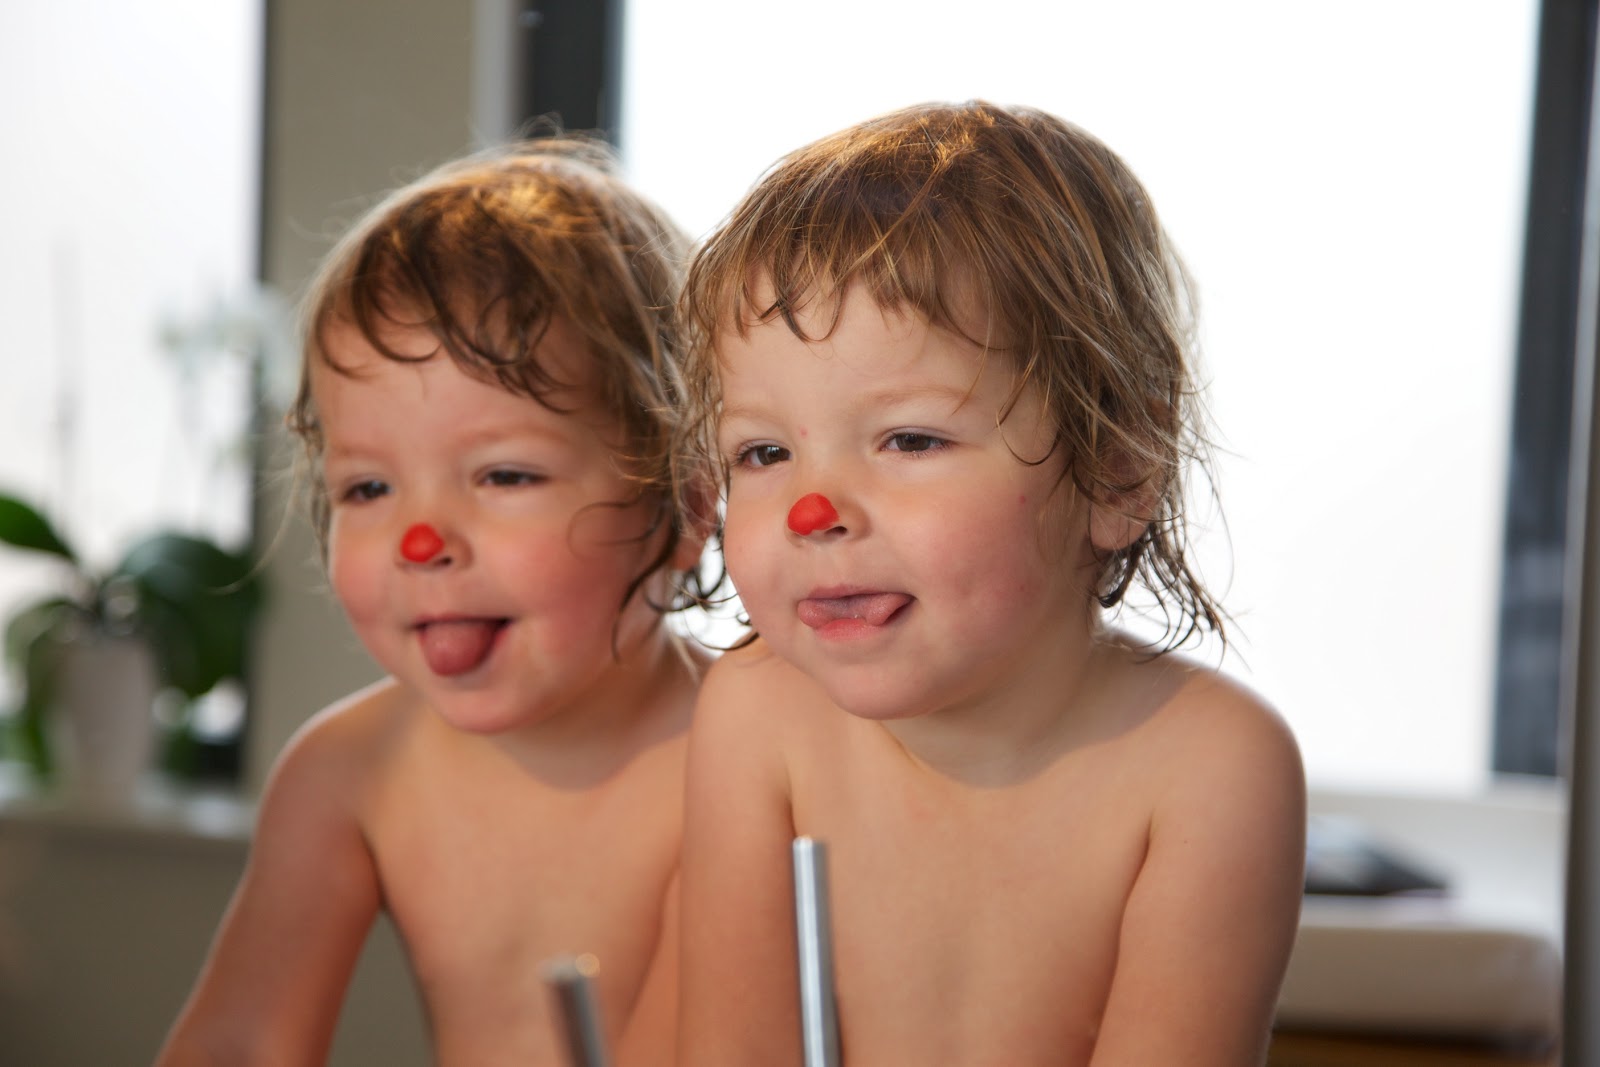
further back in time to present my silly little stuff and myself. Like a lot of seamstresses, when I got pregnant (about 3 years ago) I felt the need to be creating something for my baby twins. So one evening, I was telling Bjorn: I really need a sewing machine! And tadaaa: he came back to me with an antique Singer (hand driven) and a big smile on his face. Bjorn collects everything that smells like old stuff and one day he got this lovely Singer sewing machine from his parents as a present. What a nice gift!


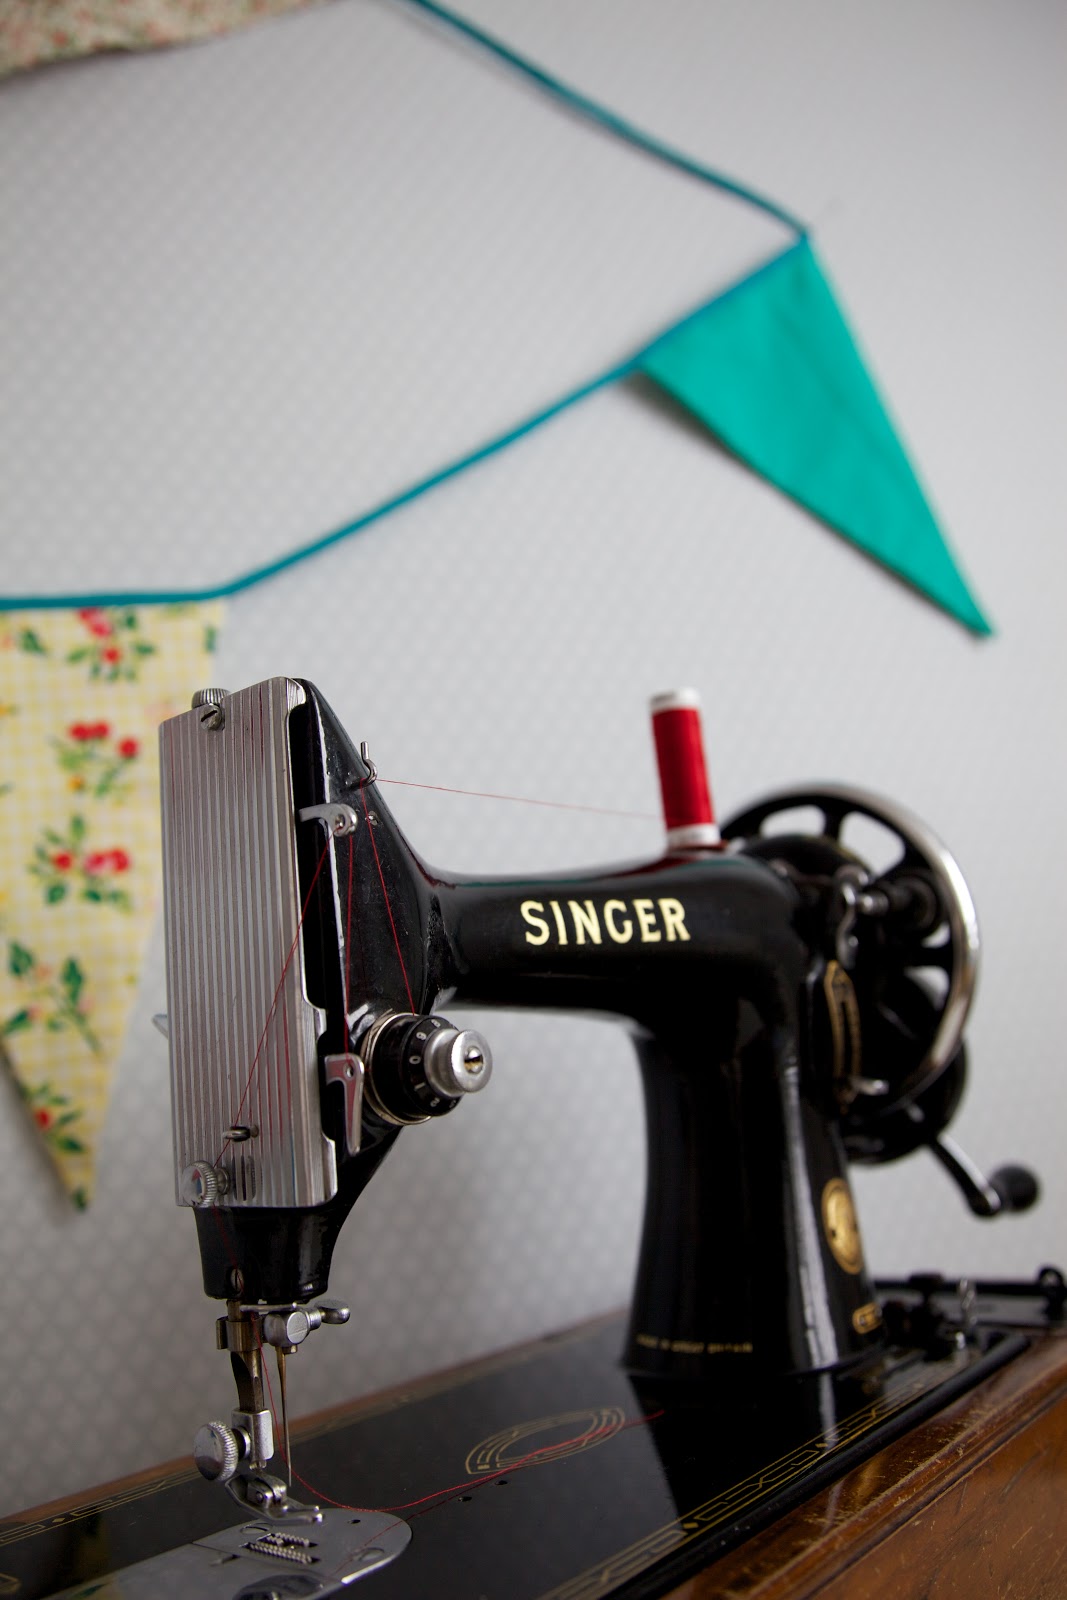
So this very old Singer, became my first sewing buddy. But except for sewing straight & straight & straight, it wasn't really helping. And I was a lousy one-hand-sewing-lady. So eventually I bought myself a brand new Husqvarna. The best decision ever. I was really surprised at that time to see the machine make my buttonholes automatically. But then I started feeling a little clumsy. I had this sophisticated machine, so I needed to get my sewing skills on the same level. One year ago I started following my first course and what happened is obvious: I became addicted to sewing! I started making children’s clothes because I kept hoping to lose some weight myself one day (which never happened of course).


Being a product developer by education I became frustrated when I noticed that the patterns I was using, didn’t always turned out to be just like I wanted them to be… So I started drawing patterns myself! Visiting An from Straight Grain was one of the best thing that ever happened to me. She convinced me to start blogging (in English) and another addiction is a fact now. A whole new world is opening to me: blogs, series, Pinterest, drawing my own patterns,... I just love it! I hope you can see my enthusiasm on my blog?

I have 5 free patterns available on my blog at the moment. Do you like one? Just visit my blog! I’ll be happy to share them with you.


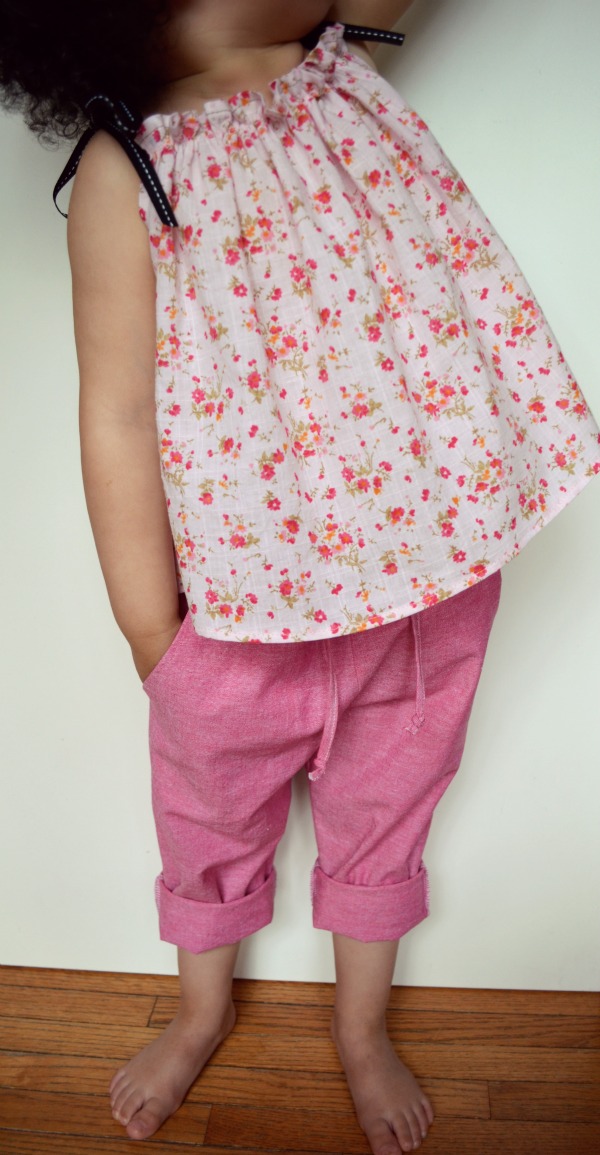
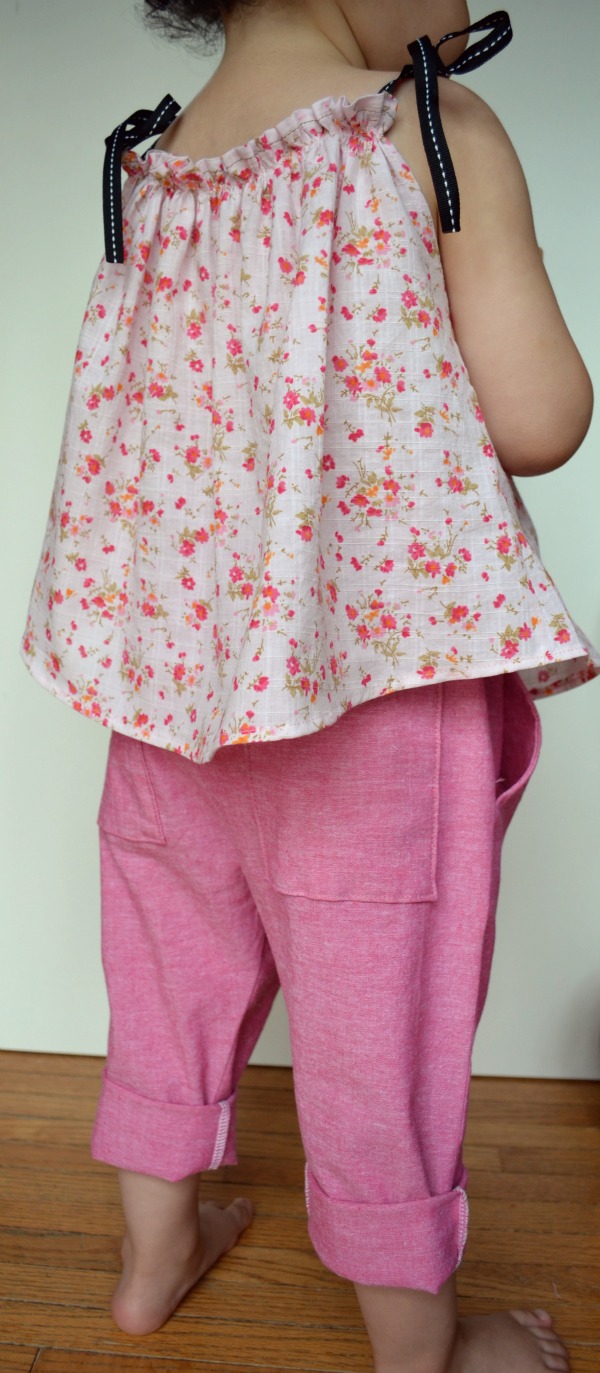
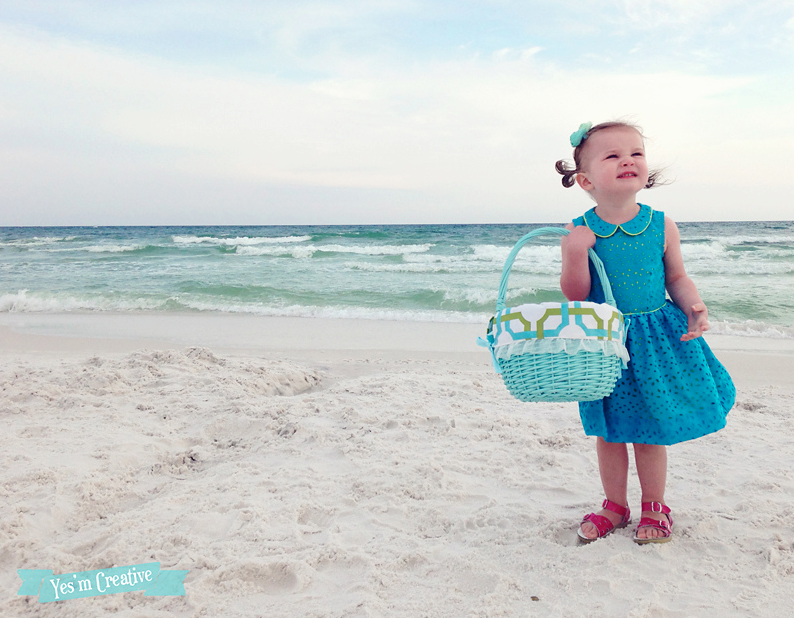
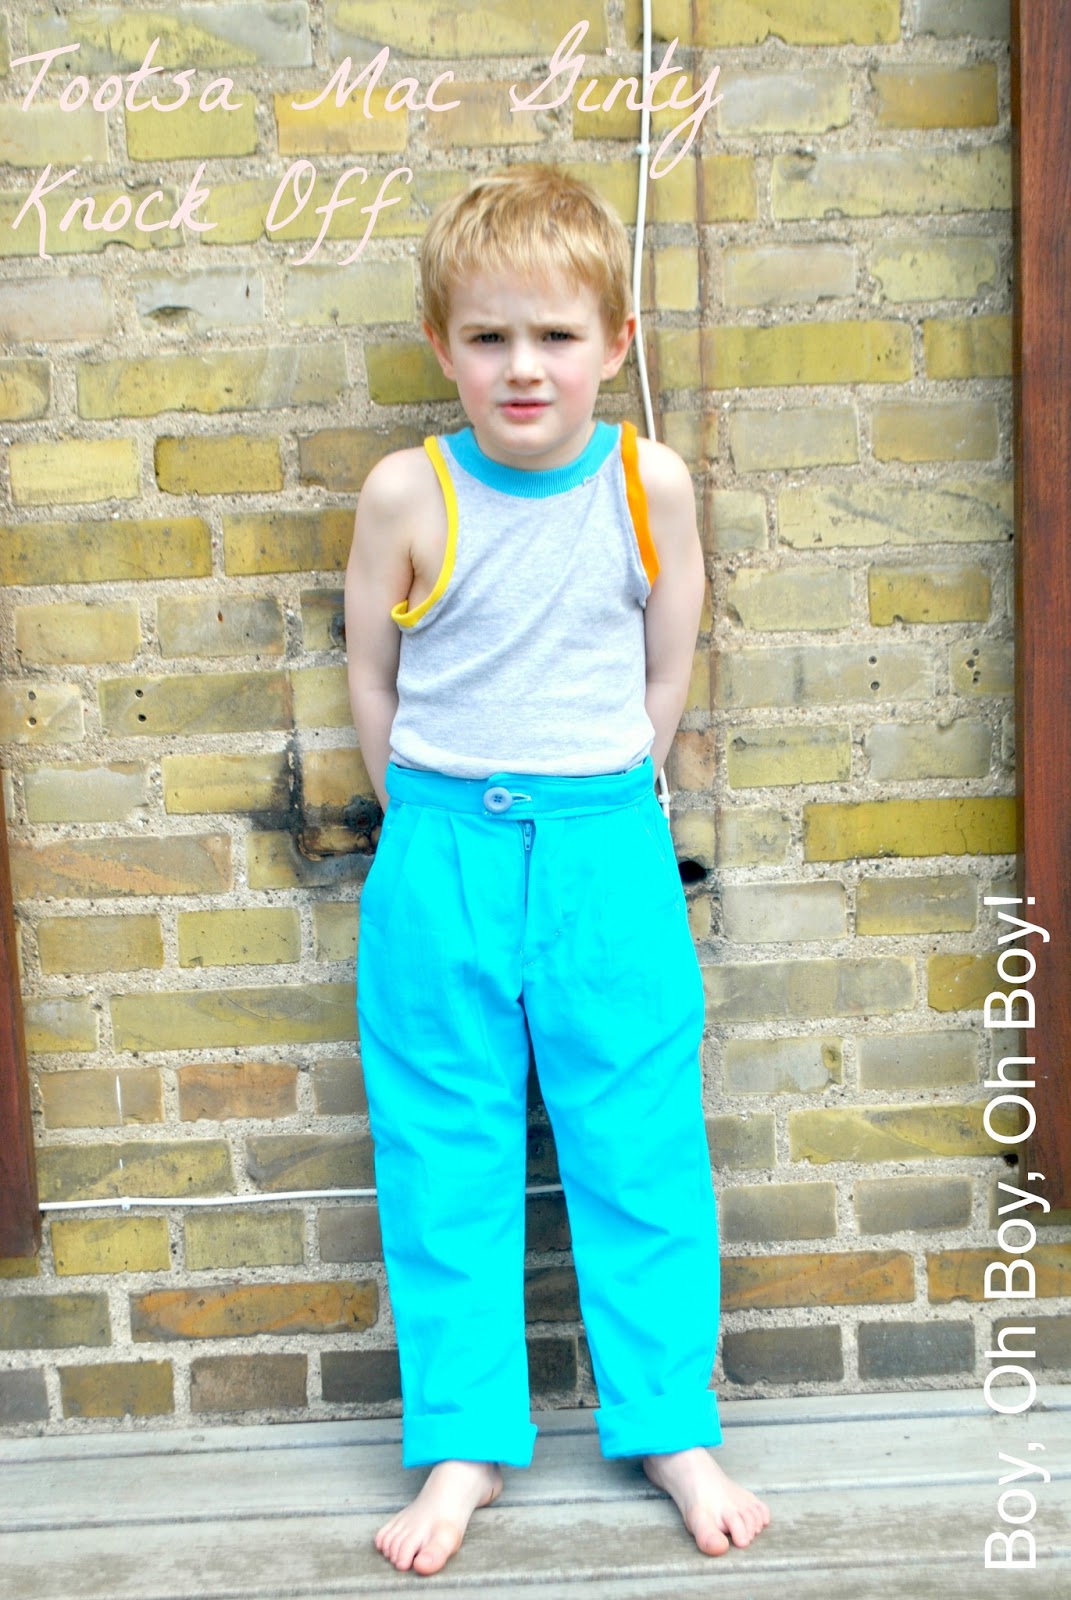
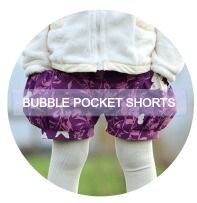
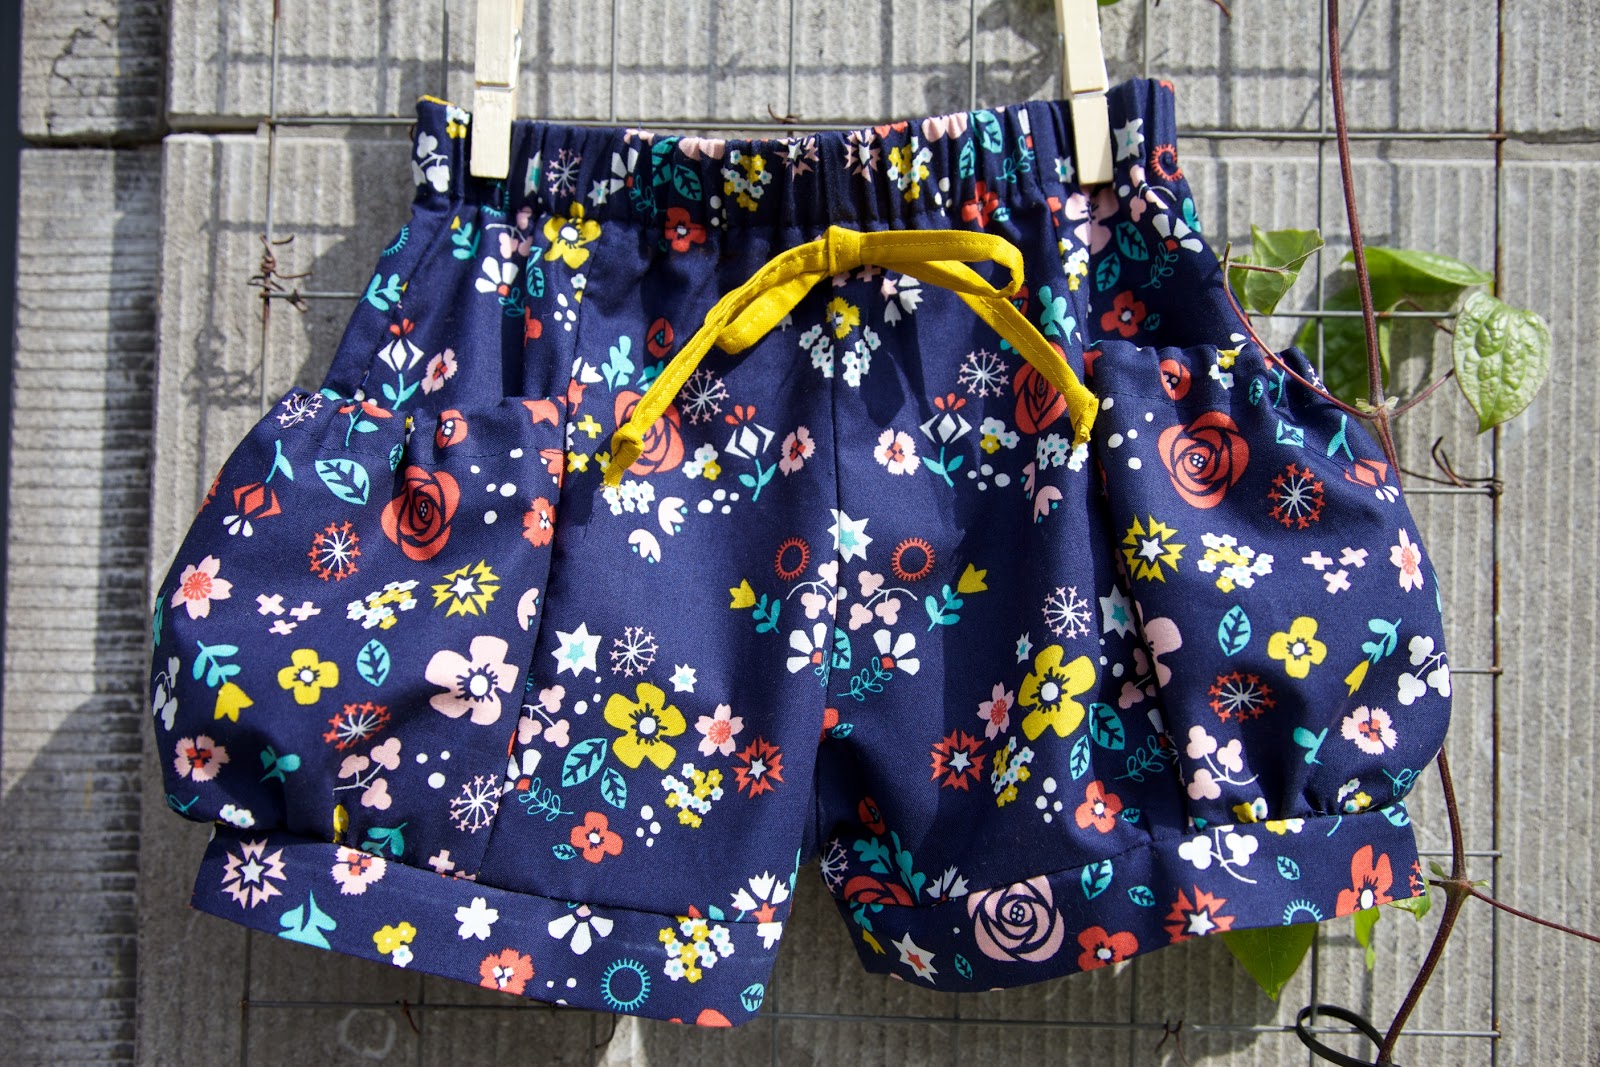
And of course I would like to thank Heidi to make this perfect Bubble Shorts pattern. Lisa is sooo happy to carry around her little bunny all the time! The pattern is to cute to be true. 
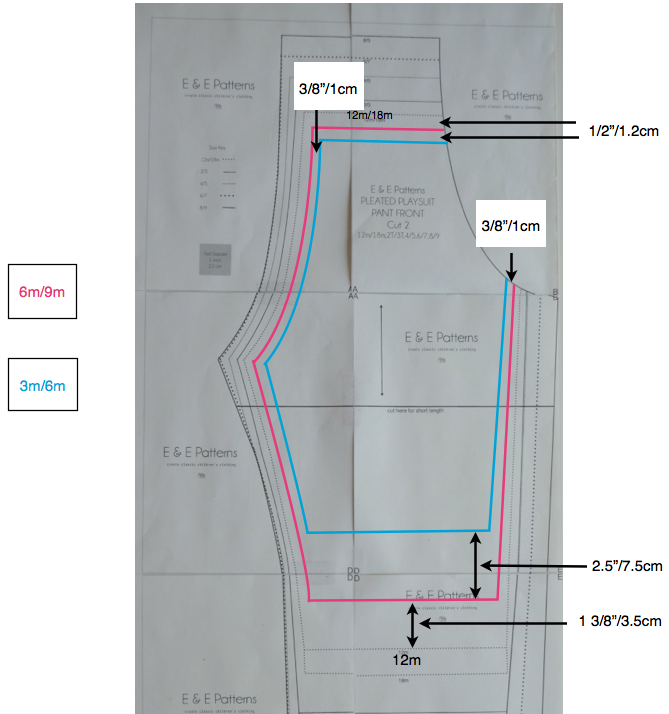
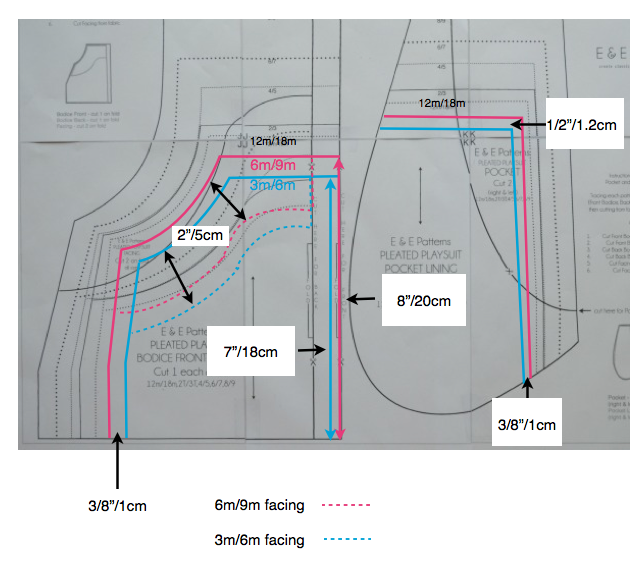
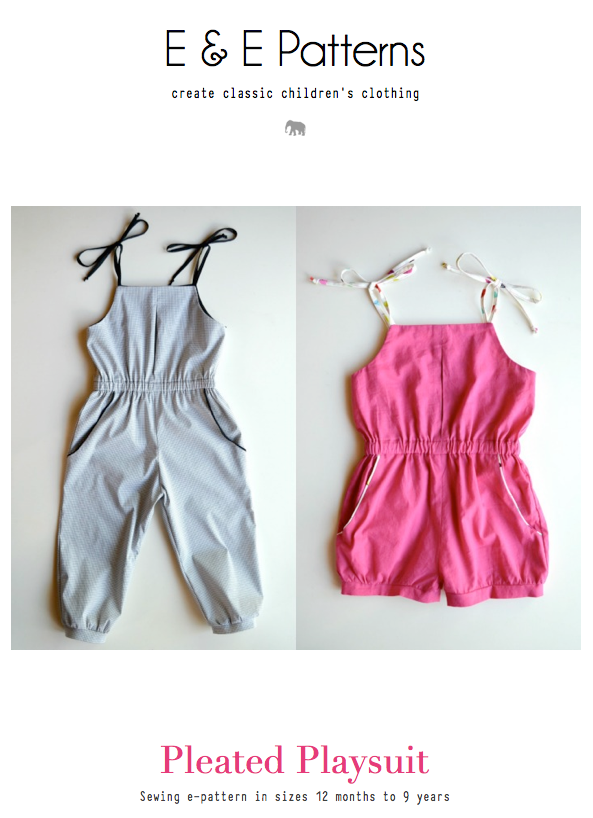
Last week we were working both on our own playsuit pattern: what a coincidence! We’ll be swapping our patterns for a future post so be sure to check both blogs sometime later this month to see the result. And I’m so excited to know what pattern Heidi is working on at this moment… I’ll surely keep following her blog!


Thank you so much for sharing here today, Marte!  It is easy to see you have a real passion for sewing, pattern-making and of course, your wonderful family!  

From Playsuit to Separates Tutorial Part 1

Thursday, June 6, 2013

Recently, I came across a couple of outfits while browsing Caramel Baby & Child that I just love.  I knew that at some point, I wanted to use those outfits as inspiration for something to sew for Anja.  Rather than pick one of the two, I let the E&E Facebook friends vote on which one I should sew as my contribution to the Knock it Off series.  Well, it was too close to call, so at some point, I plan on making both!  

I've completed the first outfit, and today, I will show how I made the top.  The trousers will be a separate post coming soon.

If you haven't downloaded the free Pleated Playsuit Pattern, yet, go do that now!  You will need it for this tutorial.


Here's how is the outfit of inspiration (the Fowey Top and Luppitt Trouser) compares to mine.


I used a lightweight cotton voile for the top and chambray for the trousers.  I don't think I've ever sewn with chambray before and it was so awesome to work with!  Luckily, it was on sale and I got some in a delicious shade of yellow, too!


To make my version of the Fowey Top, you will need:
  • About 1/2 yard or metre of lightweight cotton 
  • Four grosgrain ribbon shoulder ties (17"/43cm each) (or make your own from fabric)
  • Coordinating thread
  • The bodice pattern piece from the Pleated Playsuit


Watch for the tutorial for the trousers next week.

Little Hibou Shoppe Giveaway Winners

Congratulations to the following winners in the Little Hibou Shoppe Giveaway!  Thank you so much to everyone who entered.


The newest Little Hibou Shoppe patterns have just been released...these adorable, ferocious dinosaurs!  They are currently available at a discount of 35% using the coupon code DINO35 if you want to pick them up and make them for the dino enthusiast in your life!


Knock it Off Flickr Group Features

Tuesday, June 4, 2013
The fabulous contributors have all shared their looks for the series, and I am still so amazed by the all the talent that's been shared!  I think the ability to see an admired garment and find ways to re-create the look by enhancing it, using one's own techniques, is a gift.  Not only that, but they've all shown you how they did it!  A big thank you to each of the talented designers!

And I was blown away by what appeared in the Knock it Off Flickr Group, too!  Just loveliness all around!!  Thank you for sewing along.  Here are just some of the gorgeous garments made by you:

(check out all the great t-shirts, too!)


Climbing the Willow

The next post will be my Caramel Baby & Child inspired outfit.  It's coming together nicely...for sneak peeks, follow E&E on Instagram.

Knock it Off - Boy, Oh Boy, Oh Boy! and a Giveaway!

Friday, May 31, 2013
The Knock it Off series has almost come to end.  What a great month of creative ideas we've been treated to!  Closing the series is one more adorable boy's look (I love that there have been so many cute boy's outfits!) made by none other than the super talented Stacey from Boy, Oh Boy, Oh Boy!  But before you head over there for more details (and a free digital pattern!), check out her precious photos below, and then scroll down further for the giveaway! :)


To wrap things up, how about an awesome giveaway to celebrate the end of another Knock it Off series?  I'm super excited about this one, not only because I know it's something you'll love to win, but also because the talented lady behind these patterns is also a personal friend (yes, in REAL life)!!  Tina and I met back in the 90s when we attended the same college, and after that, our family had the privilege of attending the same church where her husband pastored, not only in our home province British Columbia, but then again here in Ontario.  She's one of the few non-online friends I have who shares a real passion for the handmade, and you'd be hard-pressed to find someone as kind and considerate as Tina.  

 The Little Hibou Shoppe was established several years ago, providing simple to follow, fully illustrated patterns for soft and special handmade plush toys, nursery decor, and treasured gifts.  They are perfect for the experienced seamstress who needs to whip up a set of stuffies quickly, or for the beginner who wants the satisfaction of creating a professional-looking treasure that's easy-to-make.  Personally, I look forward to my children being old enough to learn to sew, because after learning a few simple stitches, I think these are exactly the type of project they would love to make.  


And the best part is, Tina is generously offering THREE full sets of patterns to three lucky E&E readers!  Use Rafflecopter below for four chances to win.  And check out the new Little Stuff blog (there are some great freebies!) and the Little Llama Shoppe (digital scrapbook paper and paper craft printables), too!

a Rafflecopter giveaway

Grading Down the Pleated Playsuit Pattern

Thursday, May 30, 2013
Because I received so many inquiries for me to provide smaller sizes for the Pleated Playsuit pattern, I decided to make some diagrams that should help with the process of grading it down a couple of sizes.   

Cut out and tape the pattern together, and then use the measurements in the diagrams below to grade it to the size you need.  The pant back is graded down the same as the front (below), except the 3/8"/1cm measurement along the sides will also extend along the back rise.

For the additional self-drafted pieces, measure the following:

Leg Cuffs (short pant)  6m/9m - 1.75"X12.5"(4.5cmX32cm)
                                     3m/6m - 1.75"X 12" (4.5cmX3cm)
Leg Cuffs (long pant)   6m/9m - 1.75"X8.5"(4.5cmX21.5cm)
                                     3m/6m - 1.75"X 8"(4.5cmX20cm)
Shoulder Ties -             3m-9m - 1"X14"(2.5cmX35.5cm)


I hope this helps!  Contact me if you need any clarification and I'll try my best to explain further.

Pleated Playsuit Pattern


Comfortable, casual, yet sophisticated, one-piece playsuit in either shorts or ankle-length.  Its shoulder ties and elasticized waist allow for a custom fit.  The side slant pockets with contrast lining that give the illusion of piping, and pleated front detail, make this playsuit one-of-a-kind.  The leg is slightly gathered into cuffs for a flattering fit.


The Pleated Playsuit Pattern includes:
  •  34 page PDF document (5.1MB) with full colour photographs and instructions
  • numbered, step-by-step instructions
  • prints on both standard 8.5X11" and A4 paper
  • includes both imperial and metric measurements
  • full-size pattern pages 
  • seam allowances included
  • no serger needed
  • sizes 12 months to 9 years
  • fabric recommendations & requirements, notions, sizing chart
In order to simplify the drafting and digitizing process, the bodice front & back and facing are all on one pattern piece, as are the pocket and pocket lining.  It is recommended to trace each piece separately before cutting your fabric.  Refer to the coloured diagrams on the pattern pages iv and vii for reference.


This is a complimentary pattern in appreciation for all the wonderful supporters who have been following me along my sewing/designing journey here at E&E.  I sincerely thank you all for your kindness, encouragement, and support!  This pattern is my gift to you!


CLICK HERE TO DOWNLOAD 

Auto Post Signature

Auto Post  Signature